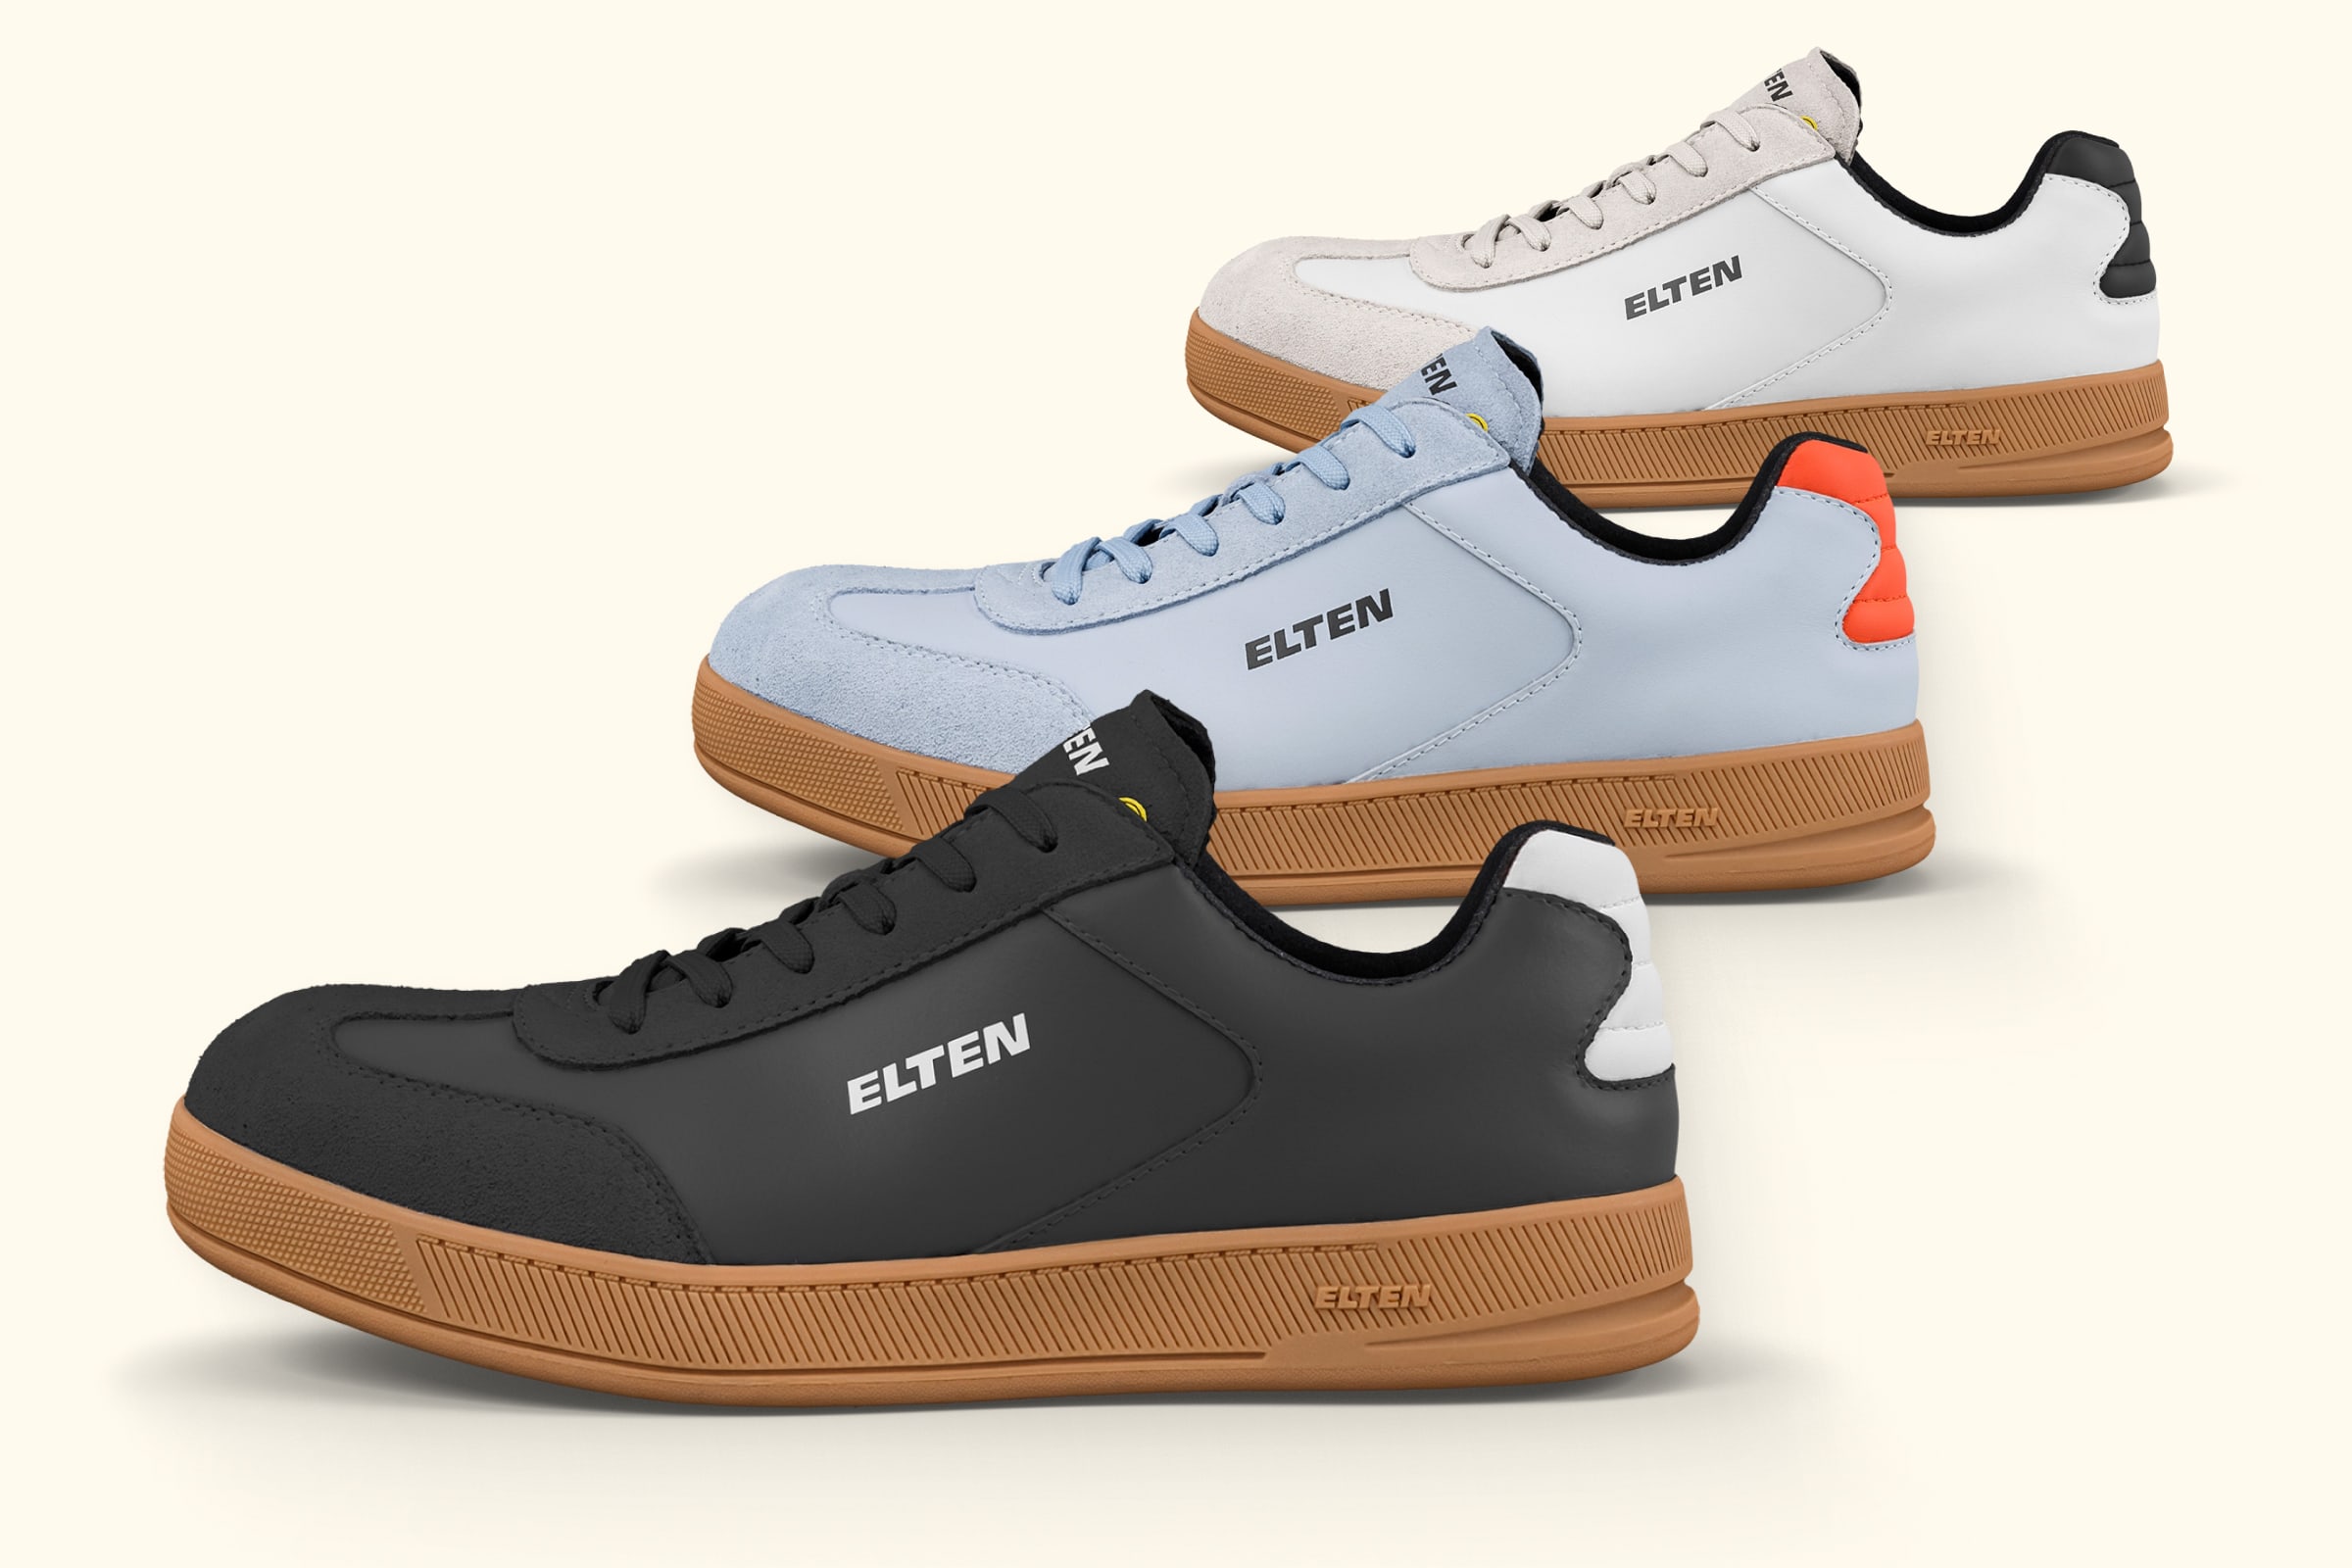
How footwear brands replace product photography with 3D, step by step
One physical sample, one scan, and every packshot your channels ask for. No studio booking required.
Most footwear brands still produce product images the way they did fifteen years ago. Samples arrive from the factory, get packed up again and shipped to a studio. A photographer shoots the agreed angles. Files come back weeks later, someone renames a few hundred of them, and the whole thing repeats next season, or sooner, if a marketplace asks for an angle nobody shot.
The alternative is not a new kind of photography. It is a different production model: scan the shoe once, then render whatever each channel needs from that one asset, for as long as the product is in range. GANT produced its entire SS27 footwear range this way: 549 shoes, rendered inside a sixteen-day production window. This guide walks through how it actually works, step by step, using a shoe we scanned and rendered ourselves.
The short version: ship one sample, scan it into a true-to-life 3D copy, set your lighting, angles and specs once per channel, pick the products, and export files that are already named and foldered for your PIM. Ten products or a thousand, same effort. When something changes, you change a setting, not a booking.
Step 1: Ship one sample, not a size run
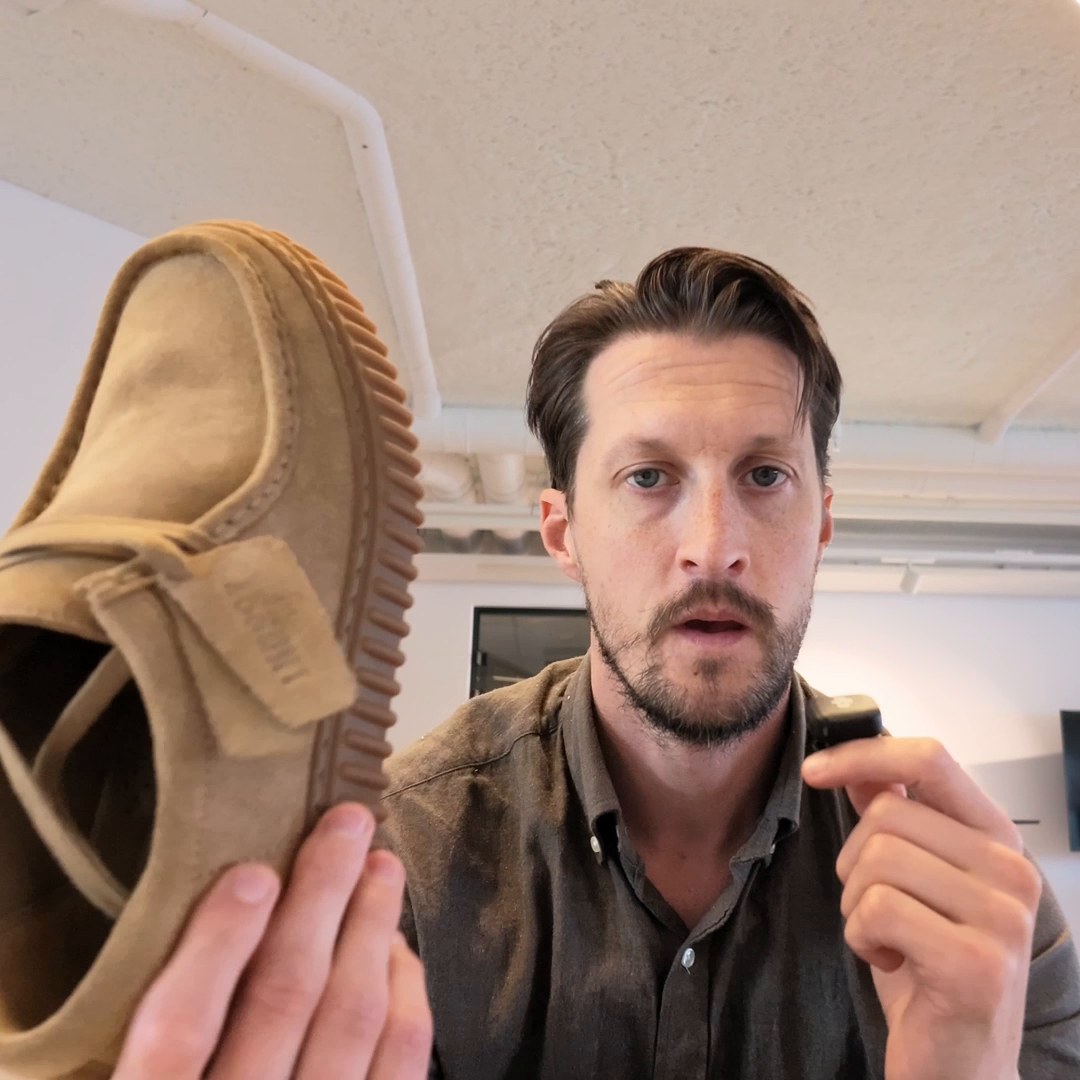
The process starts the same way a photoshoot does: a physical sample. The difference is what happens to it afterwards. One shoe, in one size, is enough. It does not need to be a specific colourway, because colour variants can be handled from the scan later. What it does need is the right material: colour is handled digitally, but a suede and a smooth leather version of the same last are two scans.
Brands that run this at scale ship samples straight from the factory or the sample room to the scanning studio, on the same schedule as their line sheets. The sample is scanned and sent back, or on to the next team that needs it. After this point, nobody in content or e-commerce needs the physical shoe again.
Step 2: Scan it once into a true-to-life 3D copy
The shoe goes through a photogrammetry scanner that captures it from hundreds of positions under controlled, cross-polarised light. The output is a 3D model with the real surface of the real shoe: the nap of the suede, the stitching along the welt, the texture of the outsole and the exact shape of the last. It is not a CAD file dressed up with materials, and it is not an AI guess at what the shoe probably looks like.
That distinction matters for footwear specifically. A customer judges a shoe by its materials and proportions, and a merchandiser signs off images by comparing them to the sample on their desk. If the model does not match the shoe, everything downstream is wasted.
The scan becomes the master asset for the product. Everything that follows in this guide is derived from it.
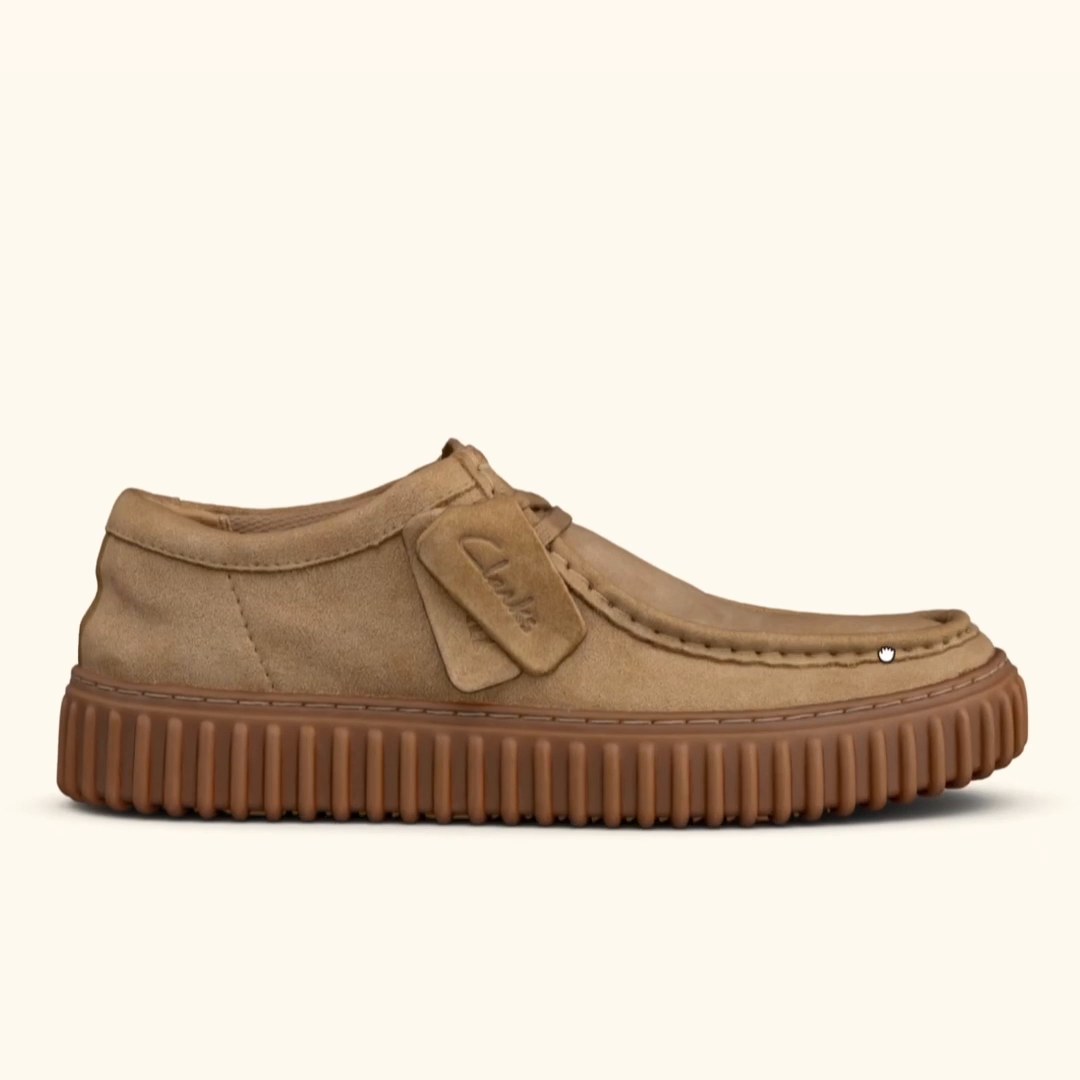
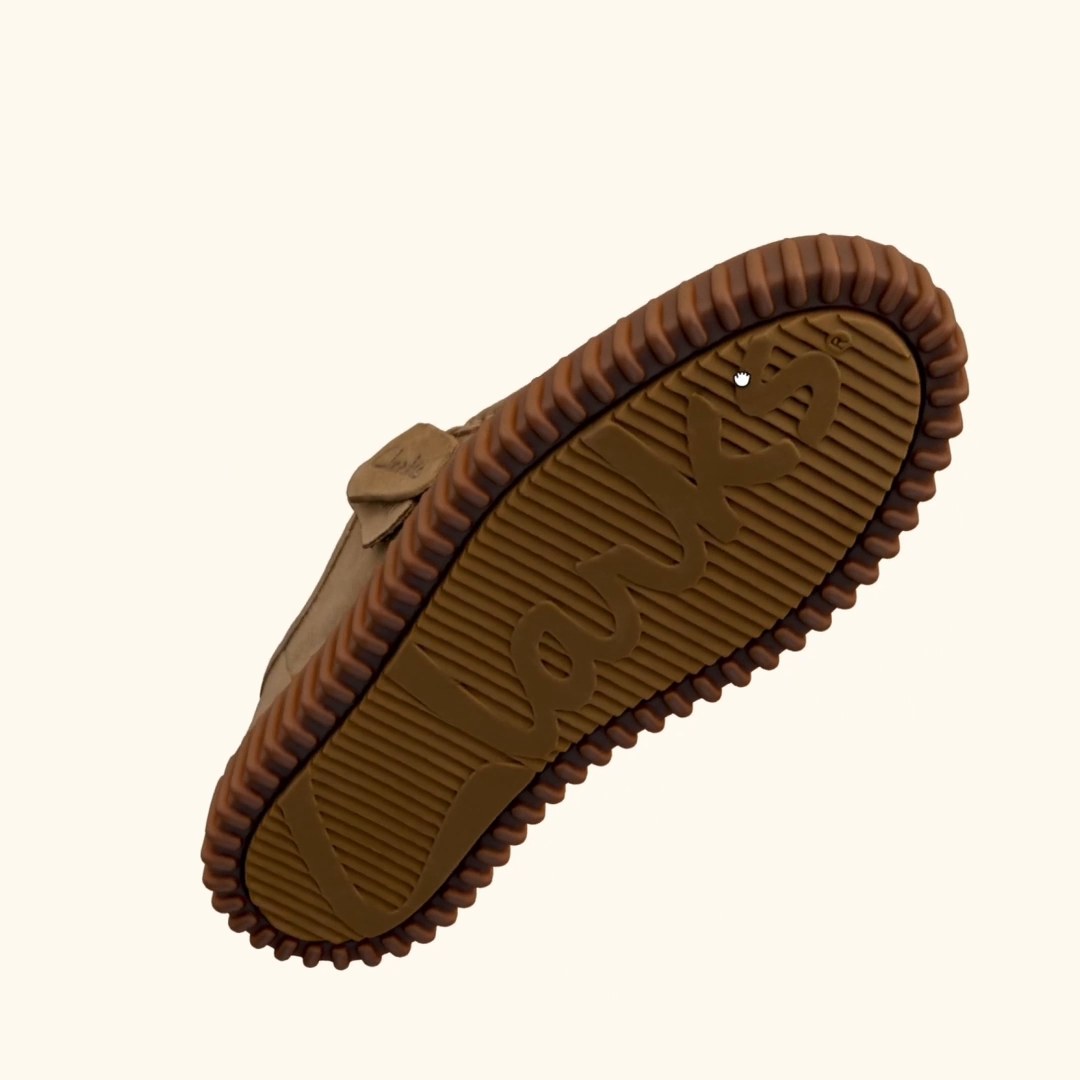
Step 3: Set your look once, per channel
This is where the model replaces the studio. In Render Studio you define how the shoe should be shot: lighting, angles, background and the exact output specs. You do it once, save it as a preset, and reuse it for every product that needs the same treatment.
Lighting
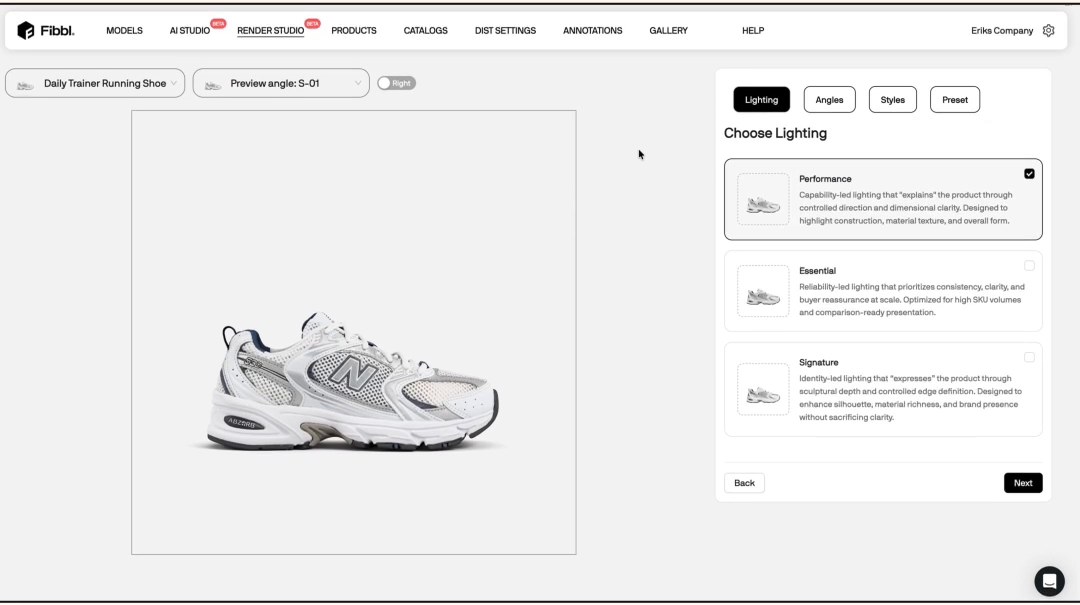
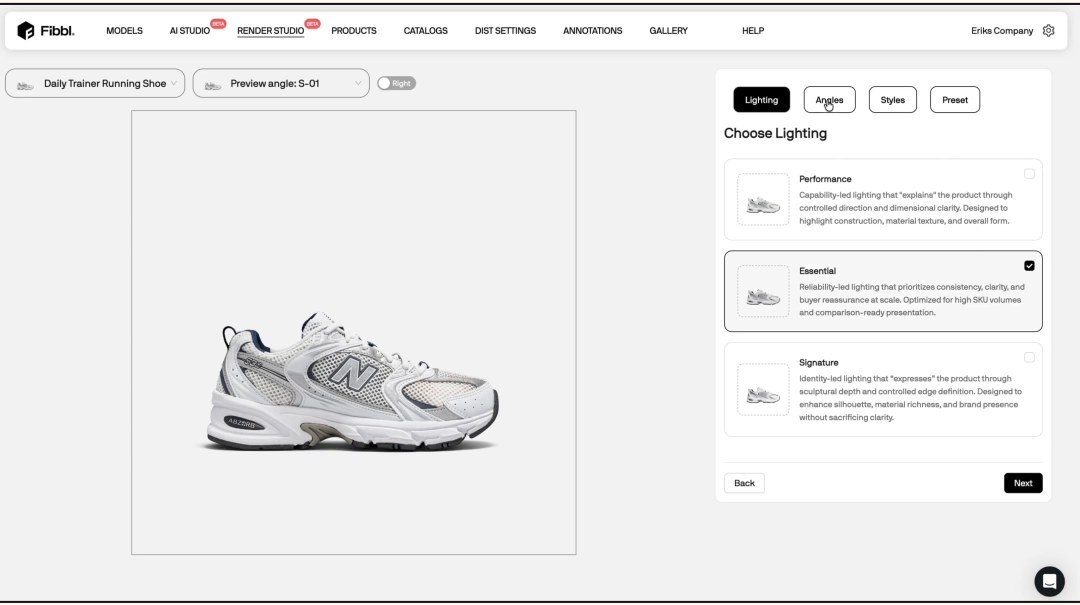
Instead of briefing a photographer on how you want the light to fall, you pick a lighting setup. The screen below shows three: a performance-led setup that explains construction and material texture, an essential setup optimised for consistency across high SKU volumes, and a signature setup with more sculptural depth for brand imagery. Whatever you choose, it is identical on shoe 1 and shoe 1,000.
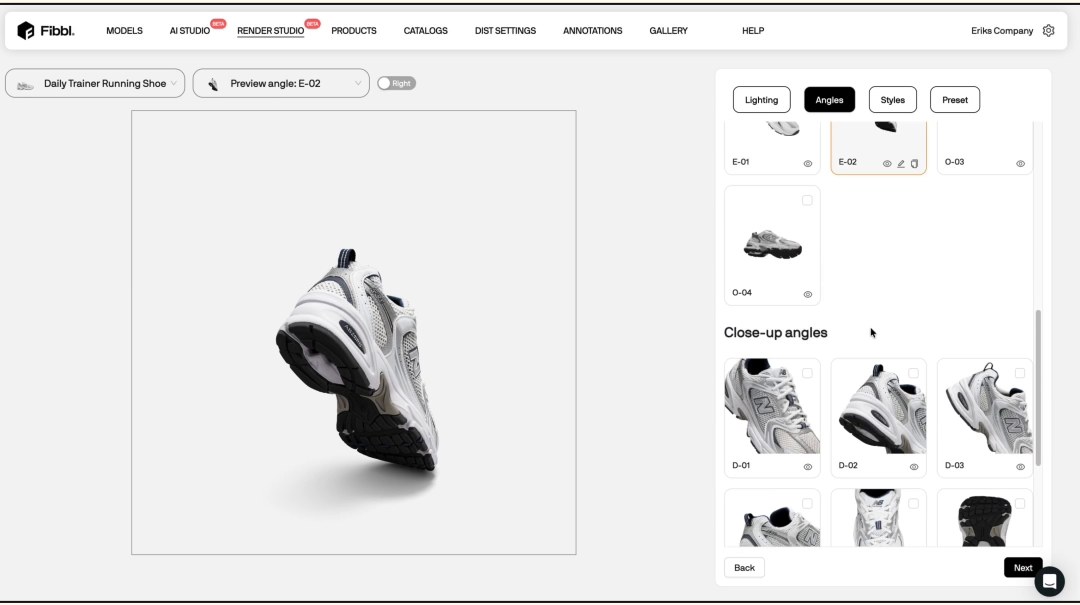
Angles
Pick the angles each channel needs from a fixed set of standard views, plus close-ups for detail shots. Your own site might want six angles, a marketplace might mandate a specific side view and an outsole shot, a retailer might ask for a three-quarter view on a set background. Each becomes its own preset.
Background and specs
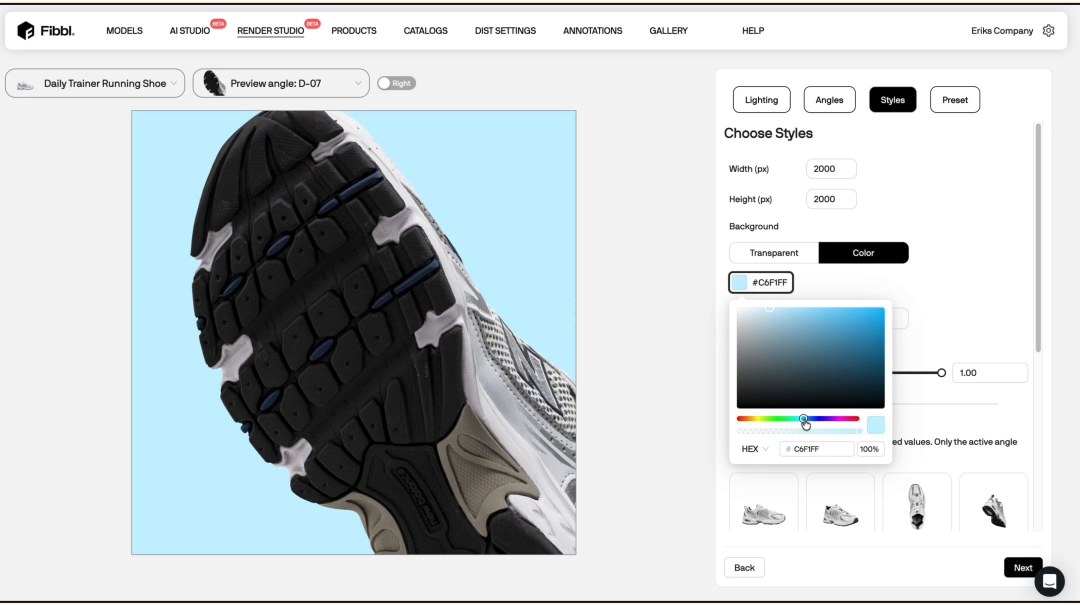
Set the pixel dimensions, background (white, transparent or a colour) and file format the channel expects. This is usually where marketplace requirements cause the most rework in a traditional workflow, because a photographer cannot reshoot to a spec that arrived after the shoot. Here it is just another field in the preset.
Step 4: Pick your products and place the order
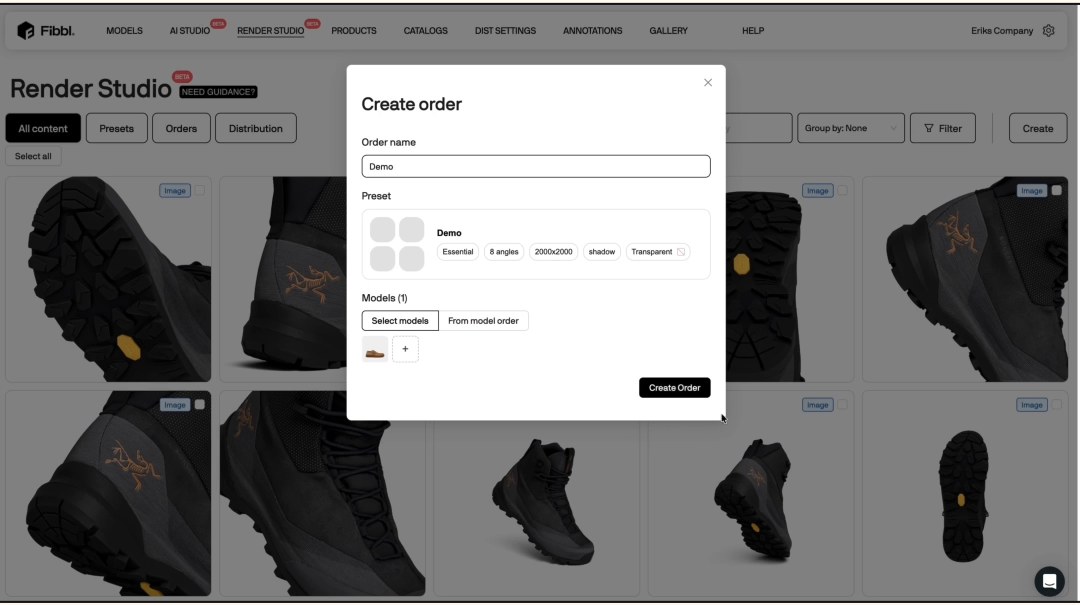
With presets in place, producing images for a new drop is a selection task. Choose the products, choose the preset, create the order. The system renders every angle for every product with the settings you defined.
This is the point where the economics change. In a photoshoot, cost and time scale roughly with the number of shoes in front of the camera. Here, ten products or a thousand take the same amount of effort from your team, and the results are consistent across the whole range because nothing was set up by hand twice.
Step 5: Export with your own naming and folder structure
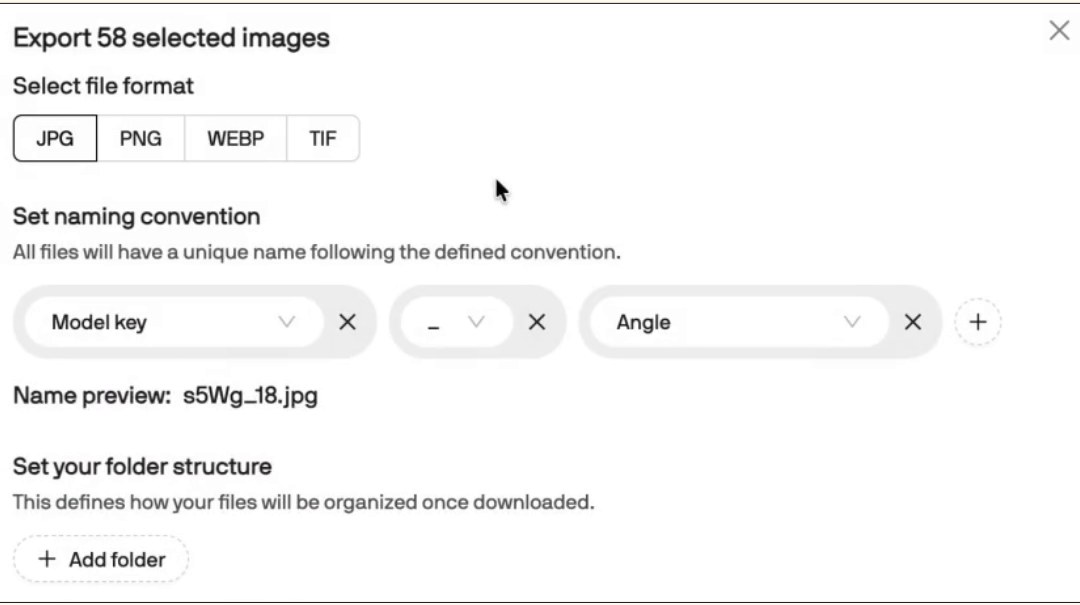
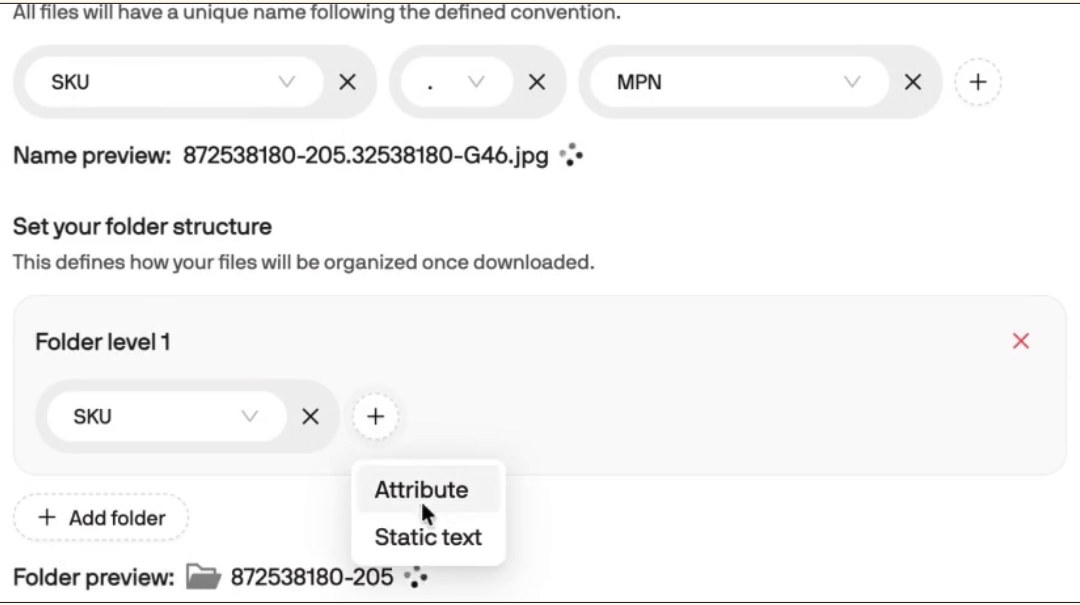
The quiet time sink in most content operations is not the shoot, it is what happens after: renaming files to match the PIM, sorting them into folders per SKU, converting formats for each channel. When a season has several hundred styles, this becomes someone’s job for a week.
The download manager takes that away. You define a naming convention from your own product data (for example SKU, a separator, MPN, then the angle) and a folder structure (for example one folder per SKU). Choose JPG, PNG, WEBP or TIF. Every file in the export follows the rule, so the download drops straight into your PIM or DAM without anyone touching a filename.
Step 6: Reuse the asset every time something changes
Here is where replacing photography stops being a cost saving and becomes an operational advantage. Once the shoe exists as a 3D asset, every future request is a setting:
- A new marketplace wants an outsole view: add the angle to the preset and re-export.
- Season changes and the range gets a refresh: apply the same preset to the new products. Carry-over styles need nothing at all.
- Your own site gets a redesign with a new background: change the style, re-render the catalogue.
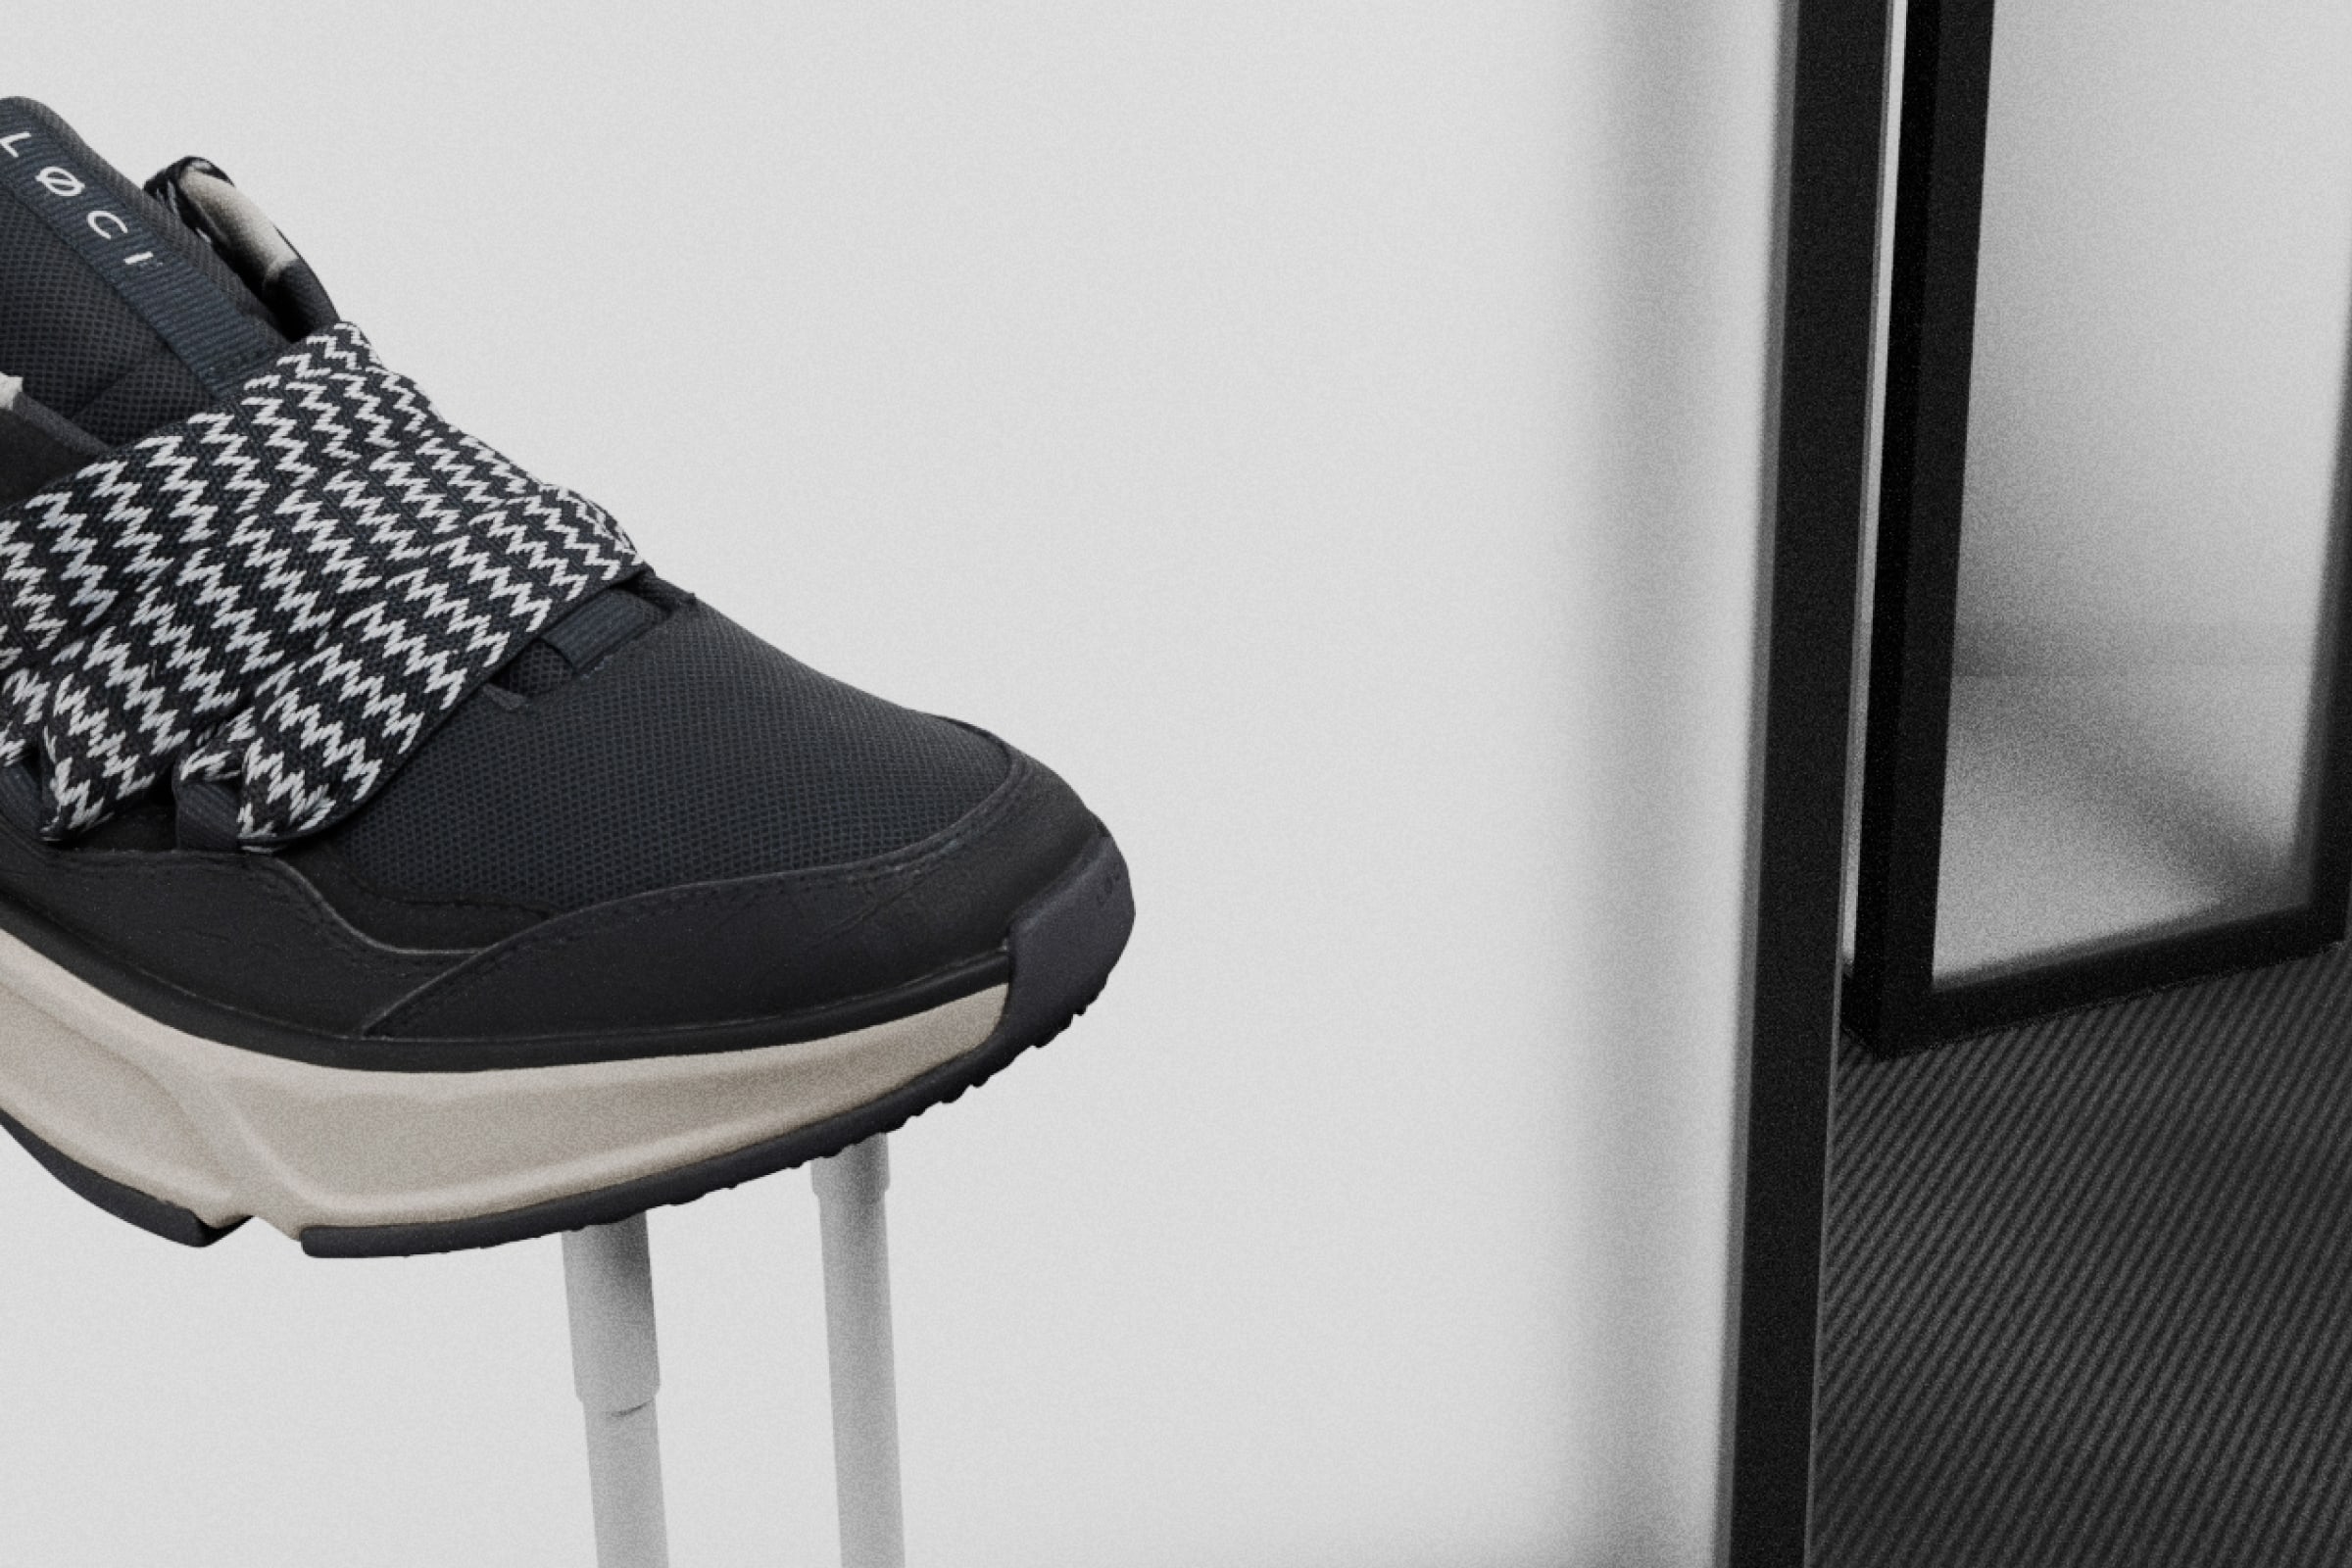
- Marketing needs a close-up of the stitching for a campaign: render it from the existing model.
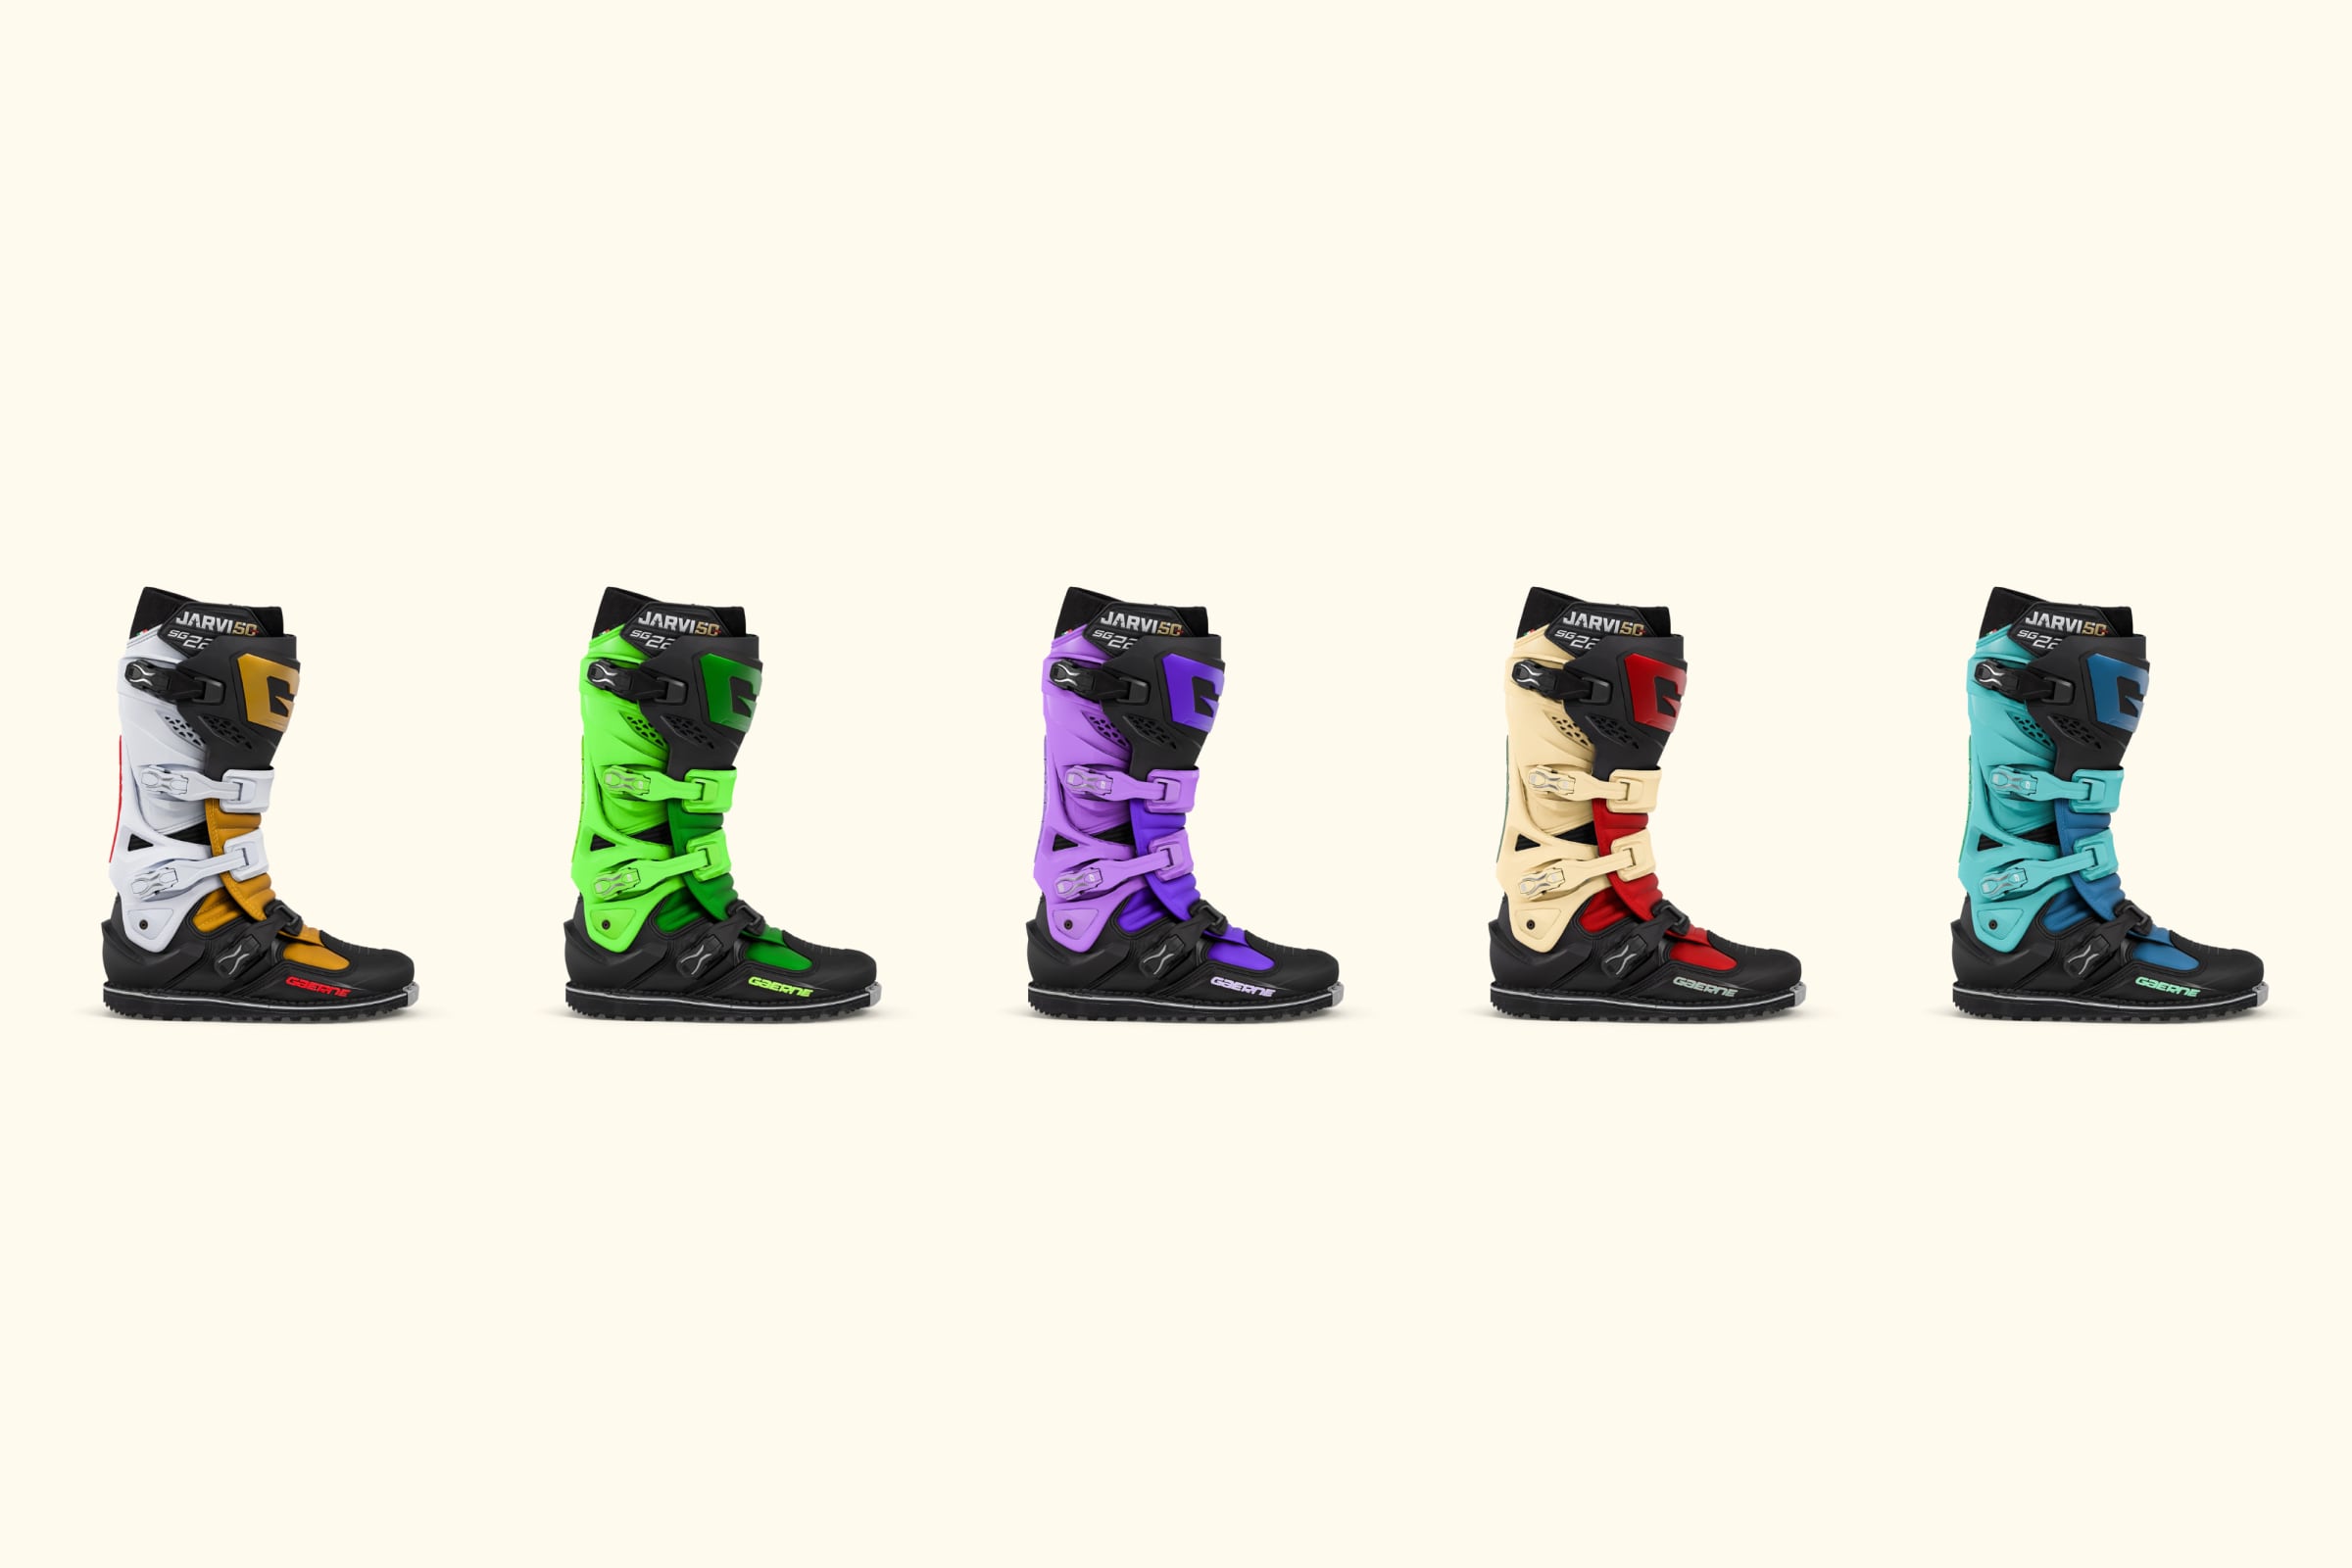
The same asset also powers the interactive 3D viewer, AR and virtual try-on on the product page, and AI-generated lifestyle imagery that is grounded in the real product rather than a text prompt. None of that requires going back to the physical shoe.
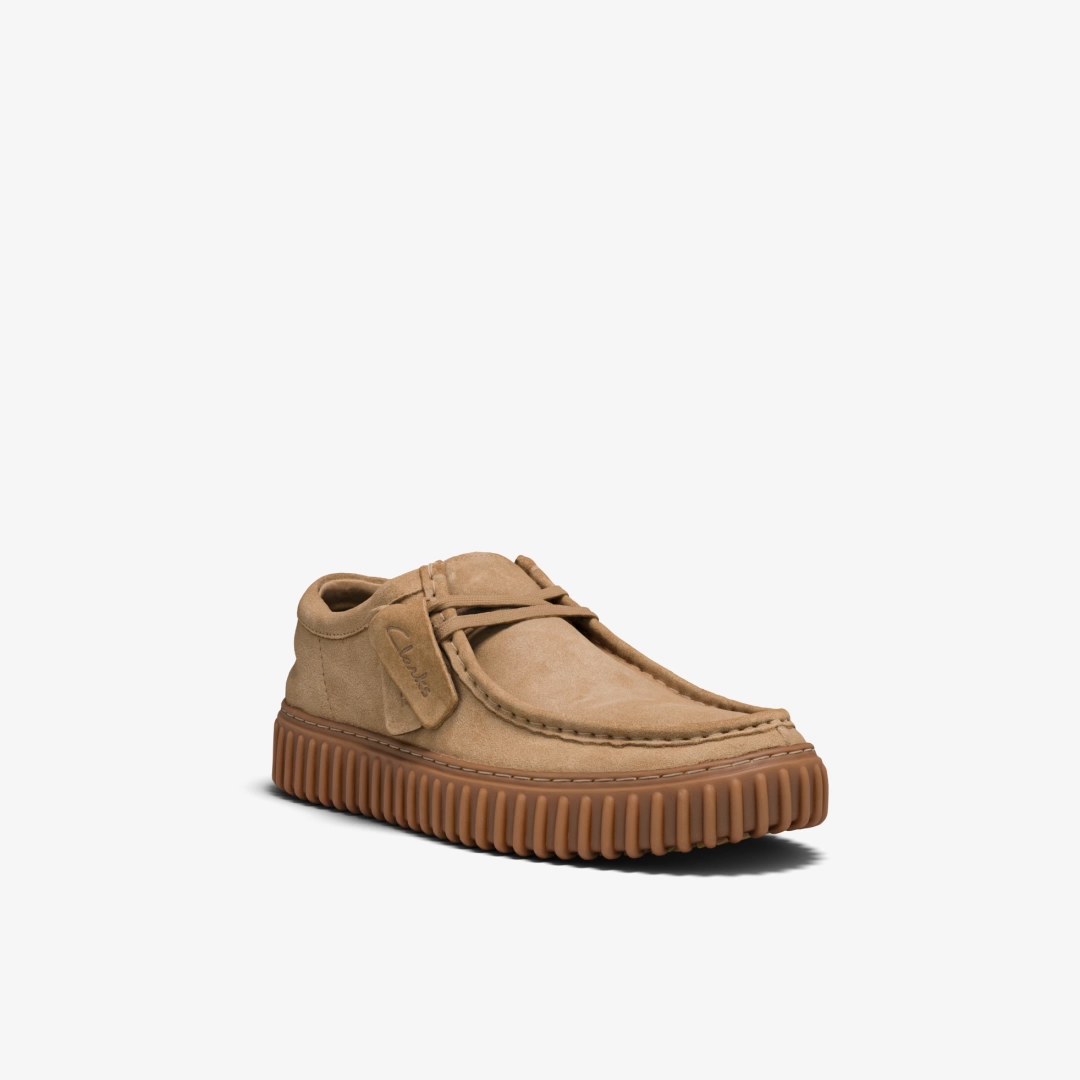
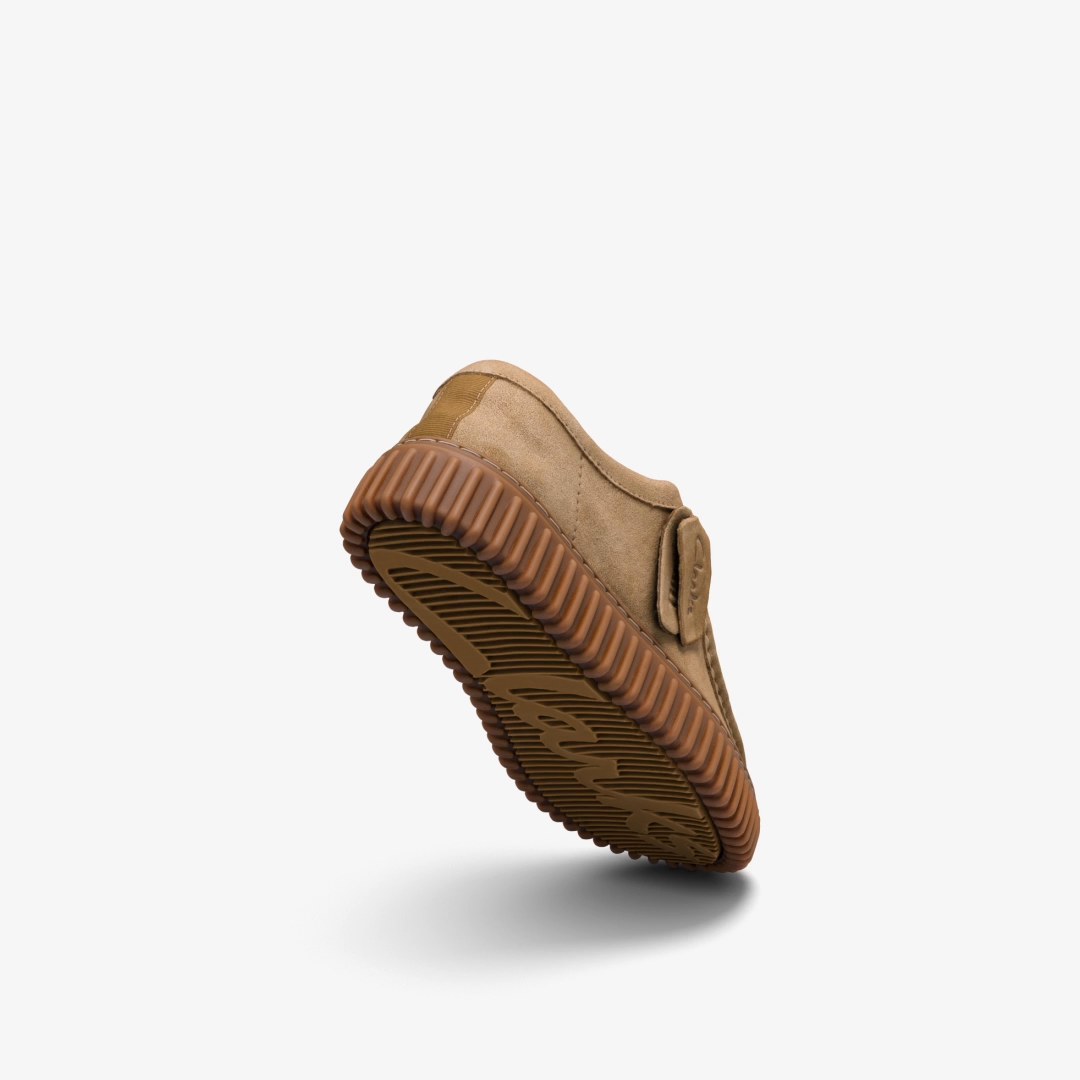
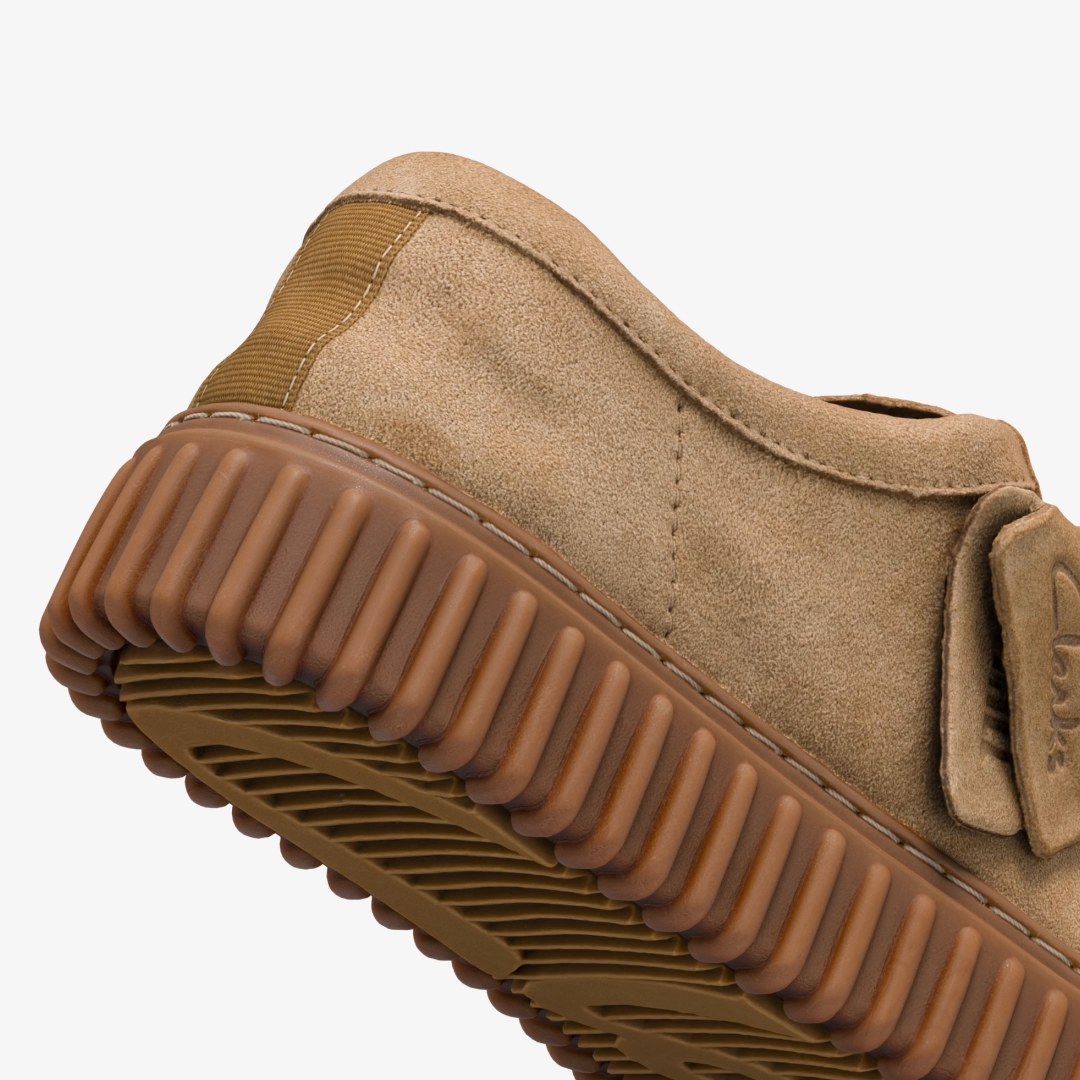
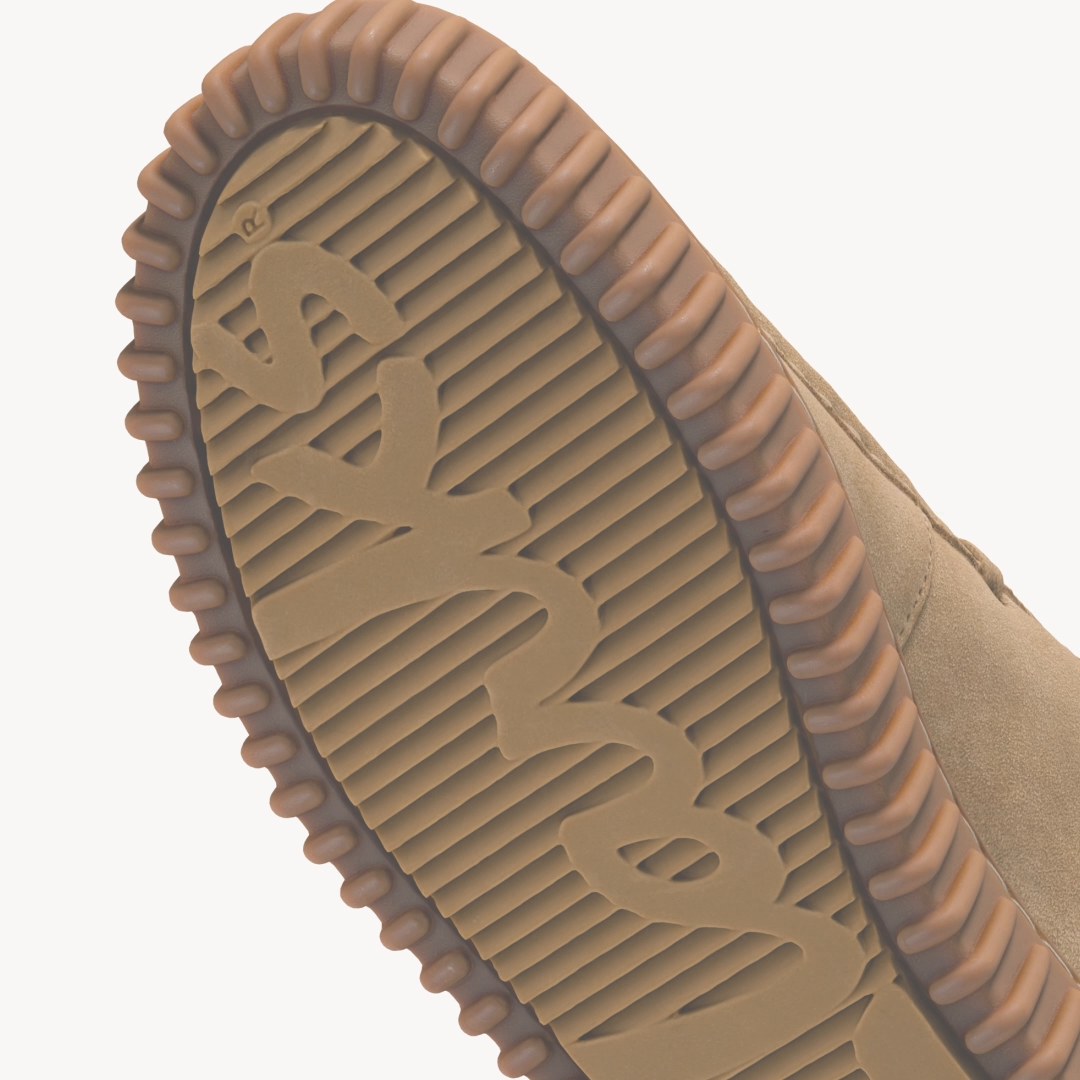
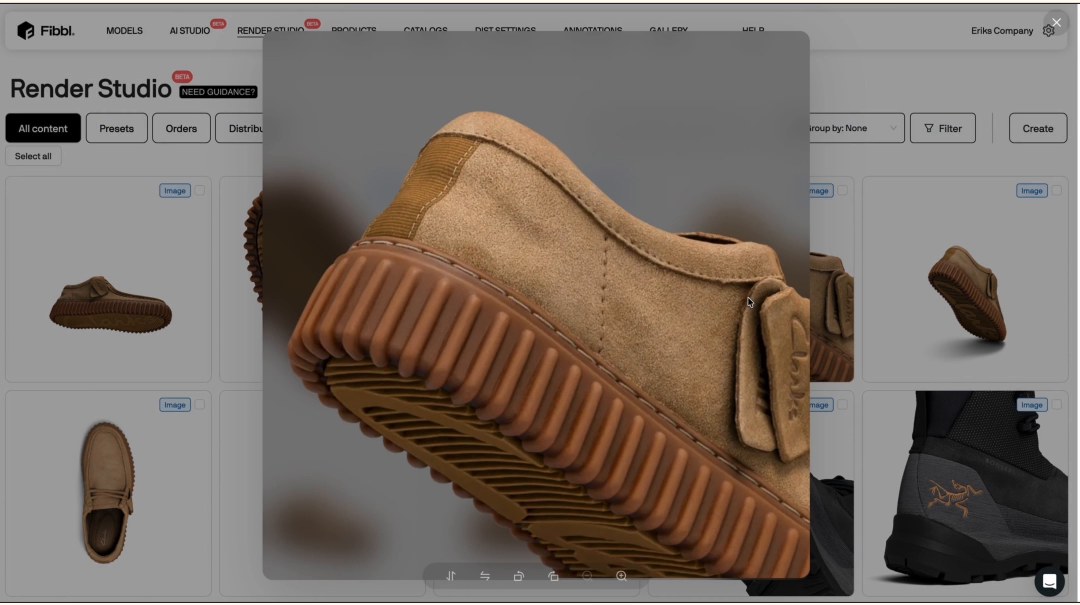
Four outputs from one scan: standard side view, three-quarter view, heel detail, outsole detail. Adding a fifth is a checkbox.
What actually changes for the team
|
Photoshoot workflow |
Scan-and-render workflow | |
|---|---|---|
|
Physical samples |
Shipped to the studio for every shoot, and again for reshoots |
Shipped once for scanning, then free for other teams |
|
Studio time |
Booked per season, per shoot day |
None after the scan |
|
New angle or channel spec |
New shoot, or the request waits until the next one |
Change the preset, re-export |
|
Consistency across the range |
Depends on the photographer, the day and the retoucher |
Identical, because the setup is applied by the system |
|
File naming and folders |
Manual, after delivery |
Generated from product data at export |
|
Carry-over styles next season |
Often reshot to match the new look |
Re-rendered with the new preset in minutes |
Where photography still has a place
It would be dishonest to say every image a footwear brand produces should come from a scan. On-model and campaign imagery with people in it still benefits from a photographer and a set, and some brands keep a small studio for exactly that.
What the scan replaces is the repeatable, high-volume work: packshots, marketplace sets, detail shots, channel variants and everything that gets redone when the season or the spec changes. In most footwear catalogues that is the large majority of images, and it is the part that scales with the number of SKUs.
How to get started
You do not need to convert the whole range on day one. The brands that have done this successfully usually start with one category or one season, run the scan-and-render workflow alongside the existing shoot, and compare the output side by side. Once the team trusts the images, the studio bookings stop on their own.
Three things worth deciding before you begin:
- Which channels you produce for, and what each one requires in angles, background and size. These become your first presets.
- Which product attributes should drive file names and folders, so exports land in your PIM without manual work.
- Where the samples go after scanning, since they are now available for buyers, sales or press instead of sitting in a studio.
See it on your own shoes
Fibbl has scanned more than 20,000 shoes for footwear and bag brands including GANT, Gola, Intersport and Joya. If you want to see what this workflow looks like on your own catalogue, send us a few products and we will render a sample set.
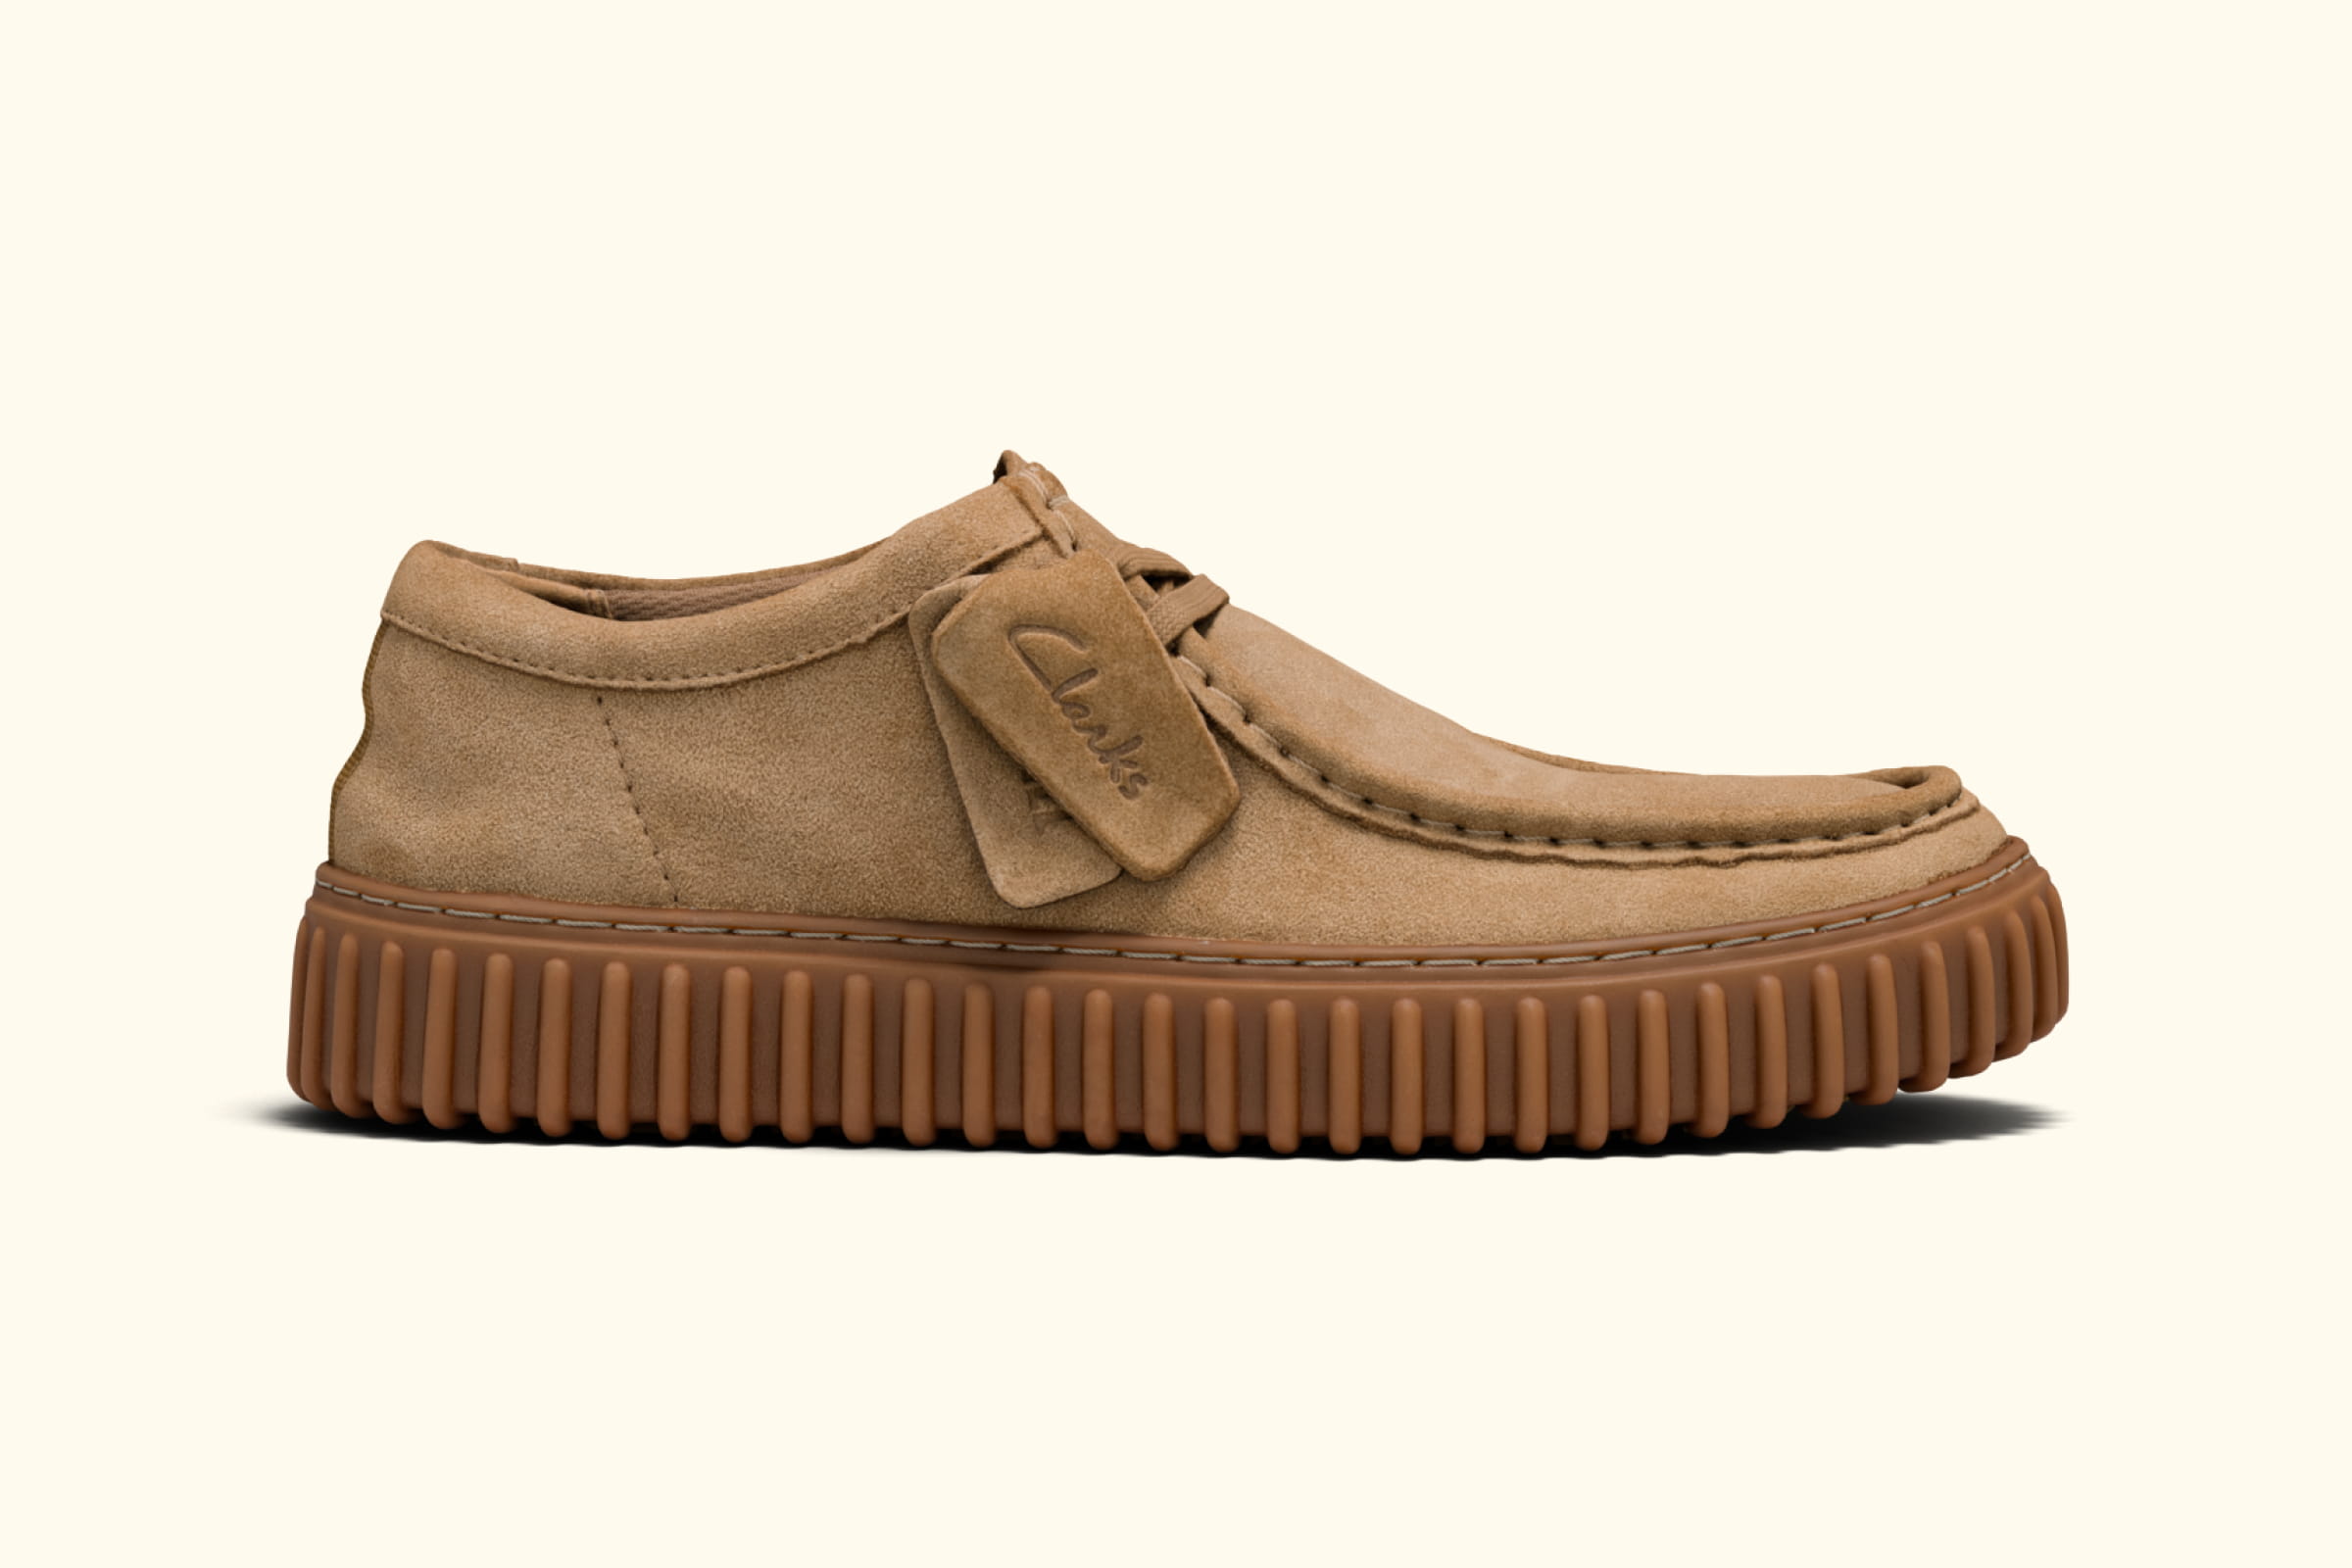
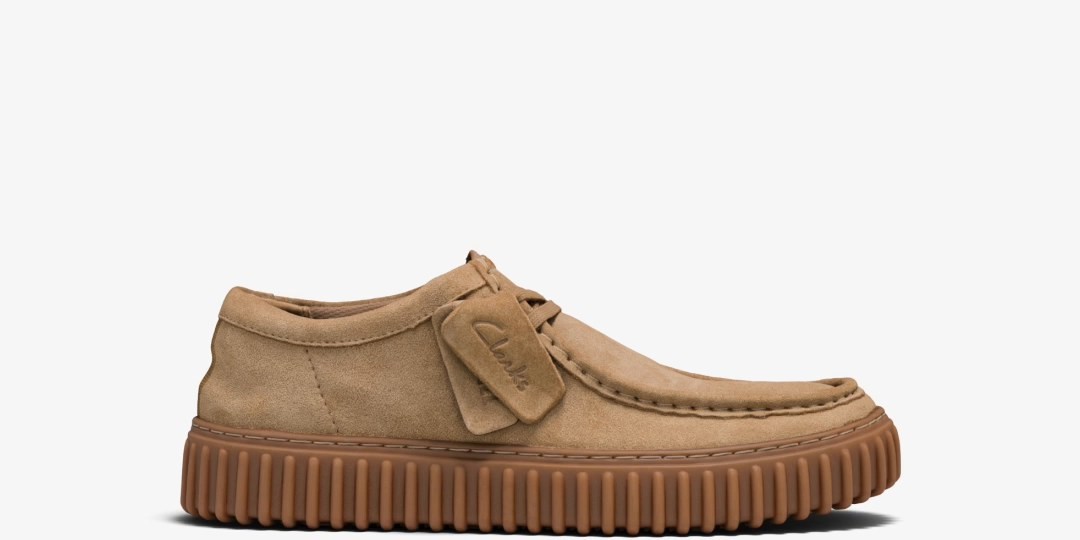
All product images in this article were rendered from a single 3D scan in Fibbl Render Studio.