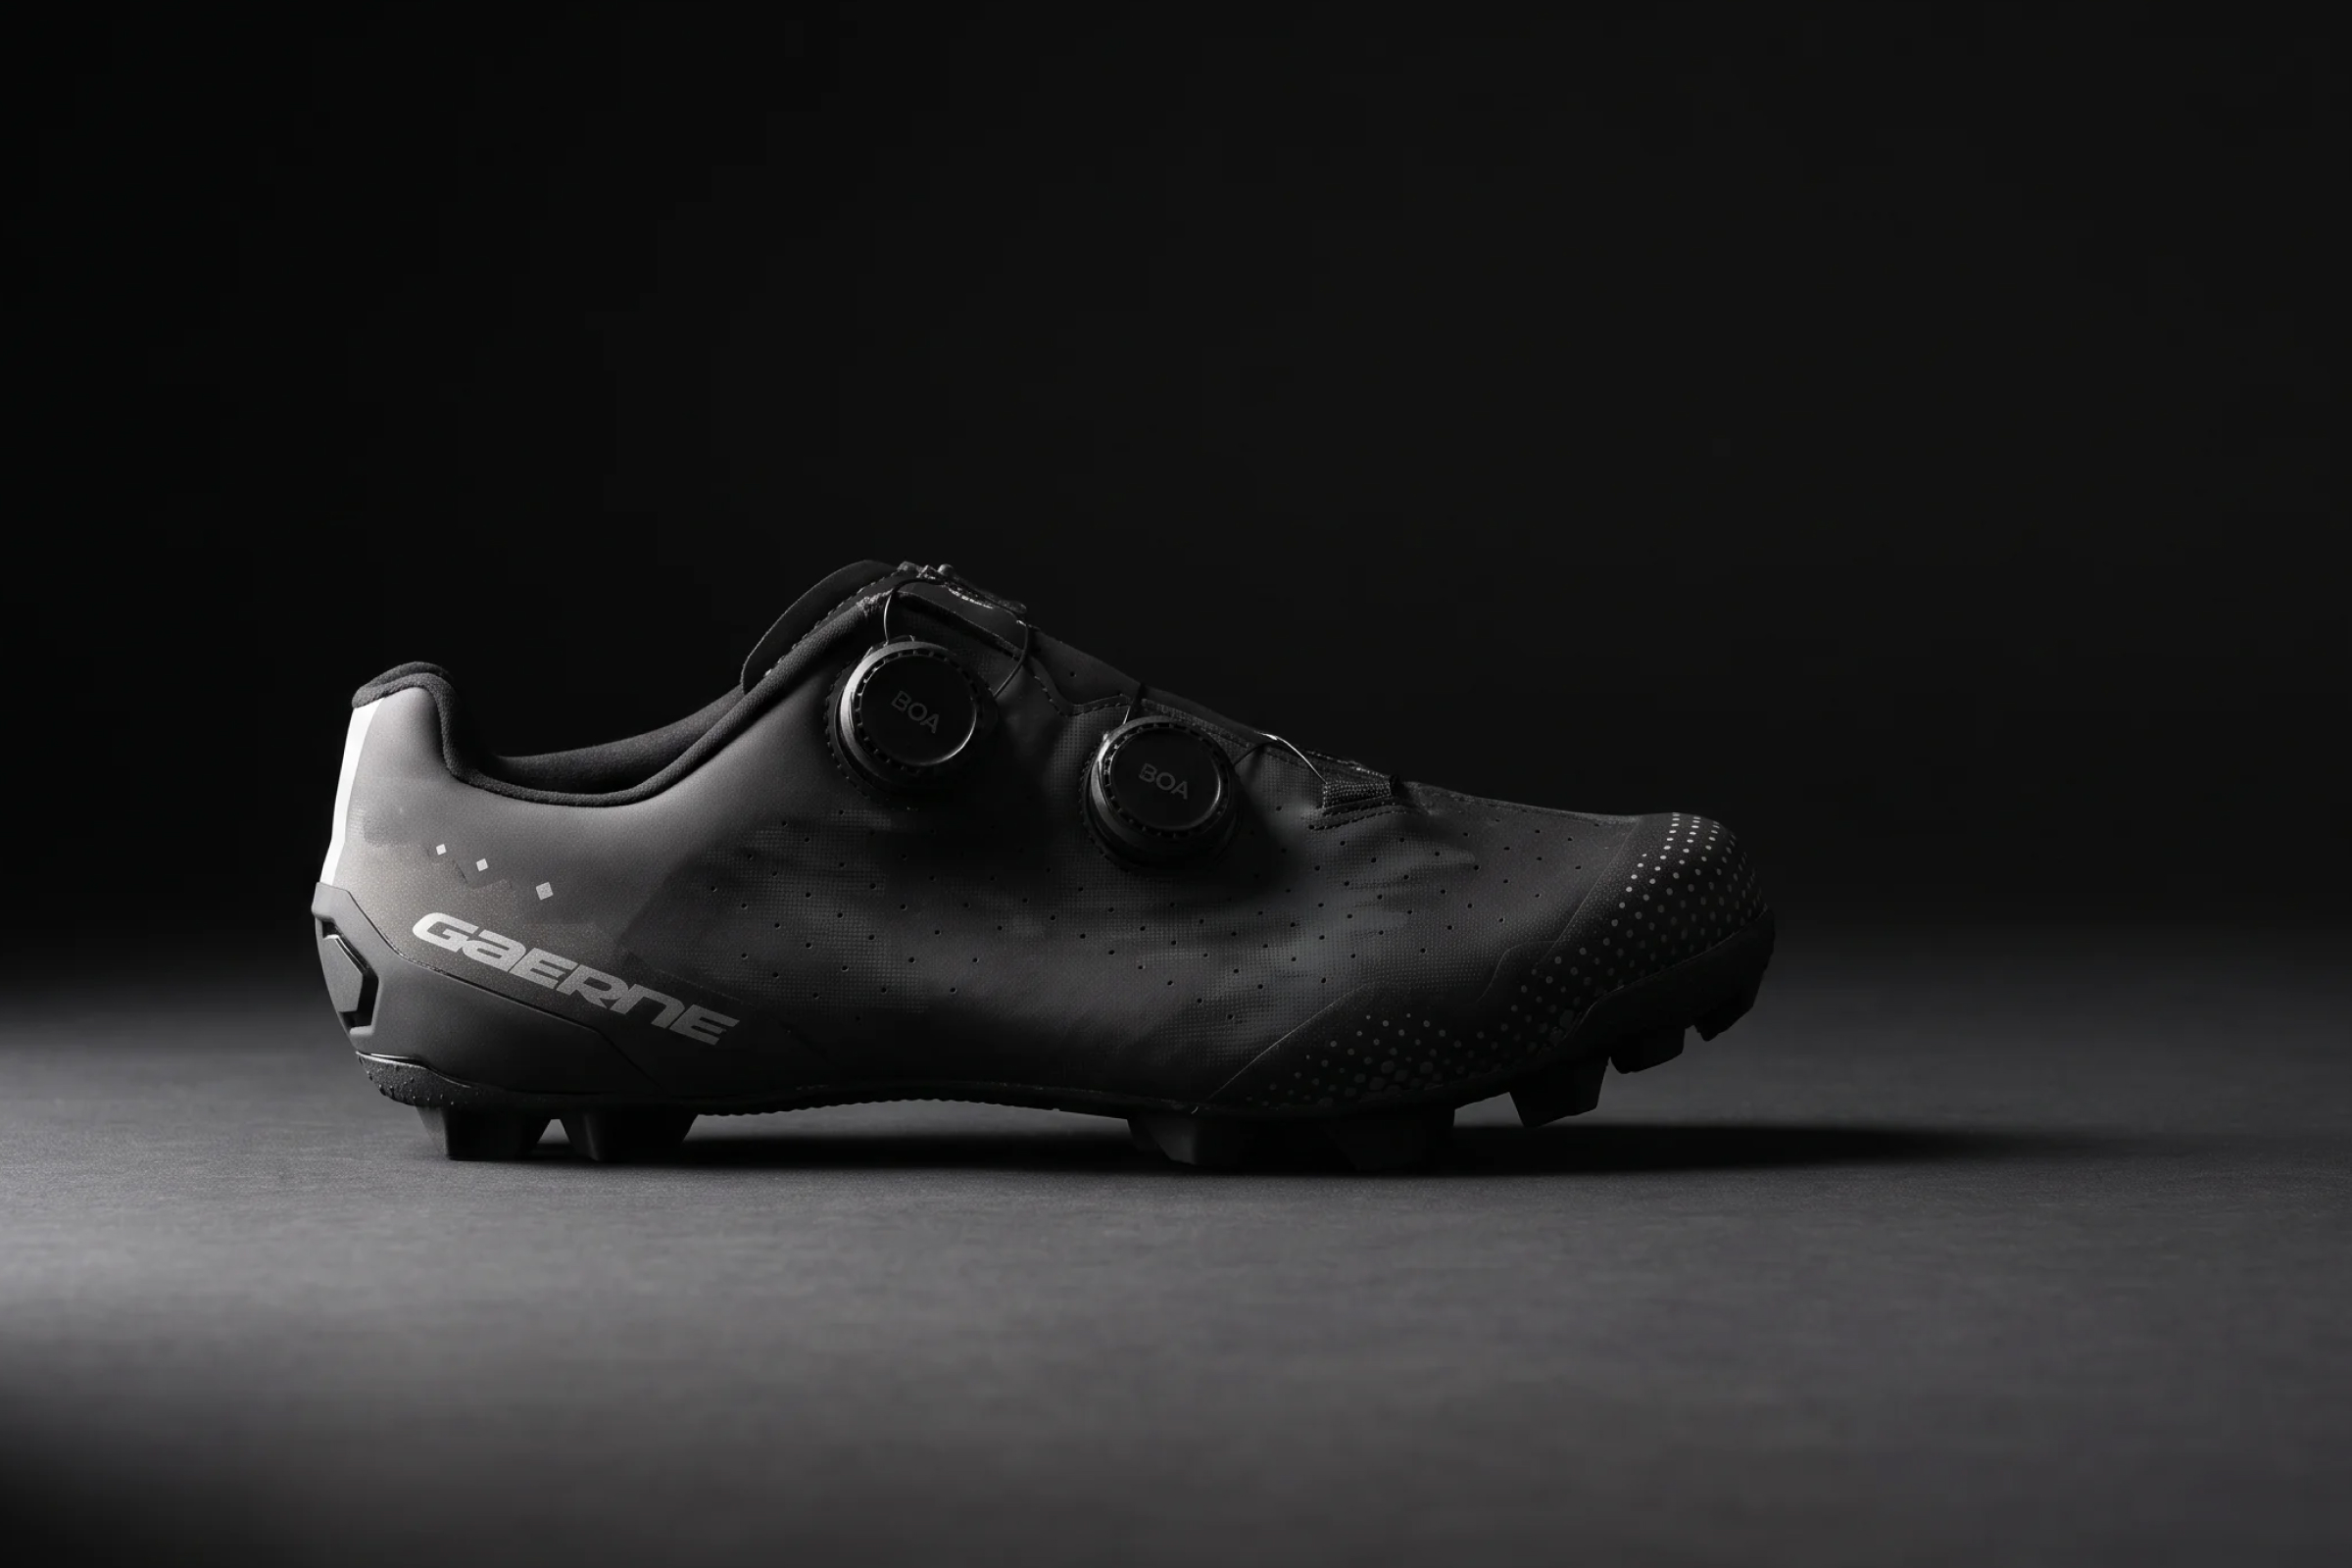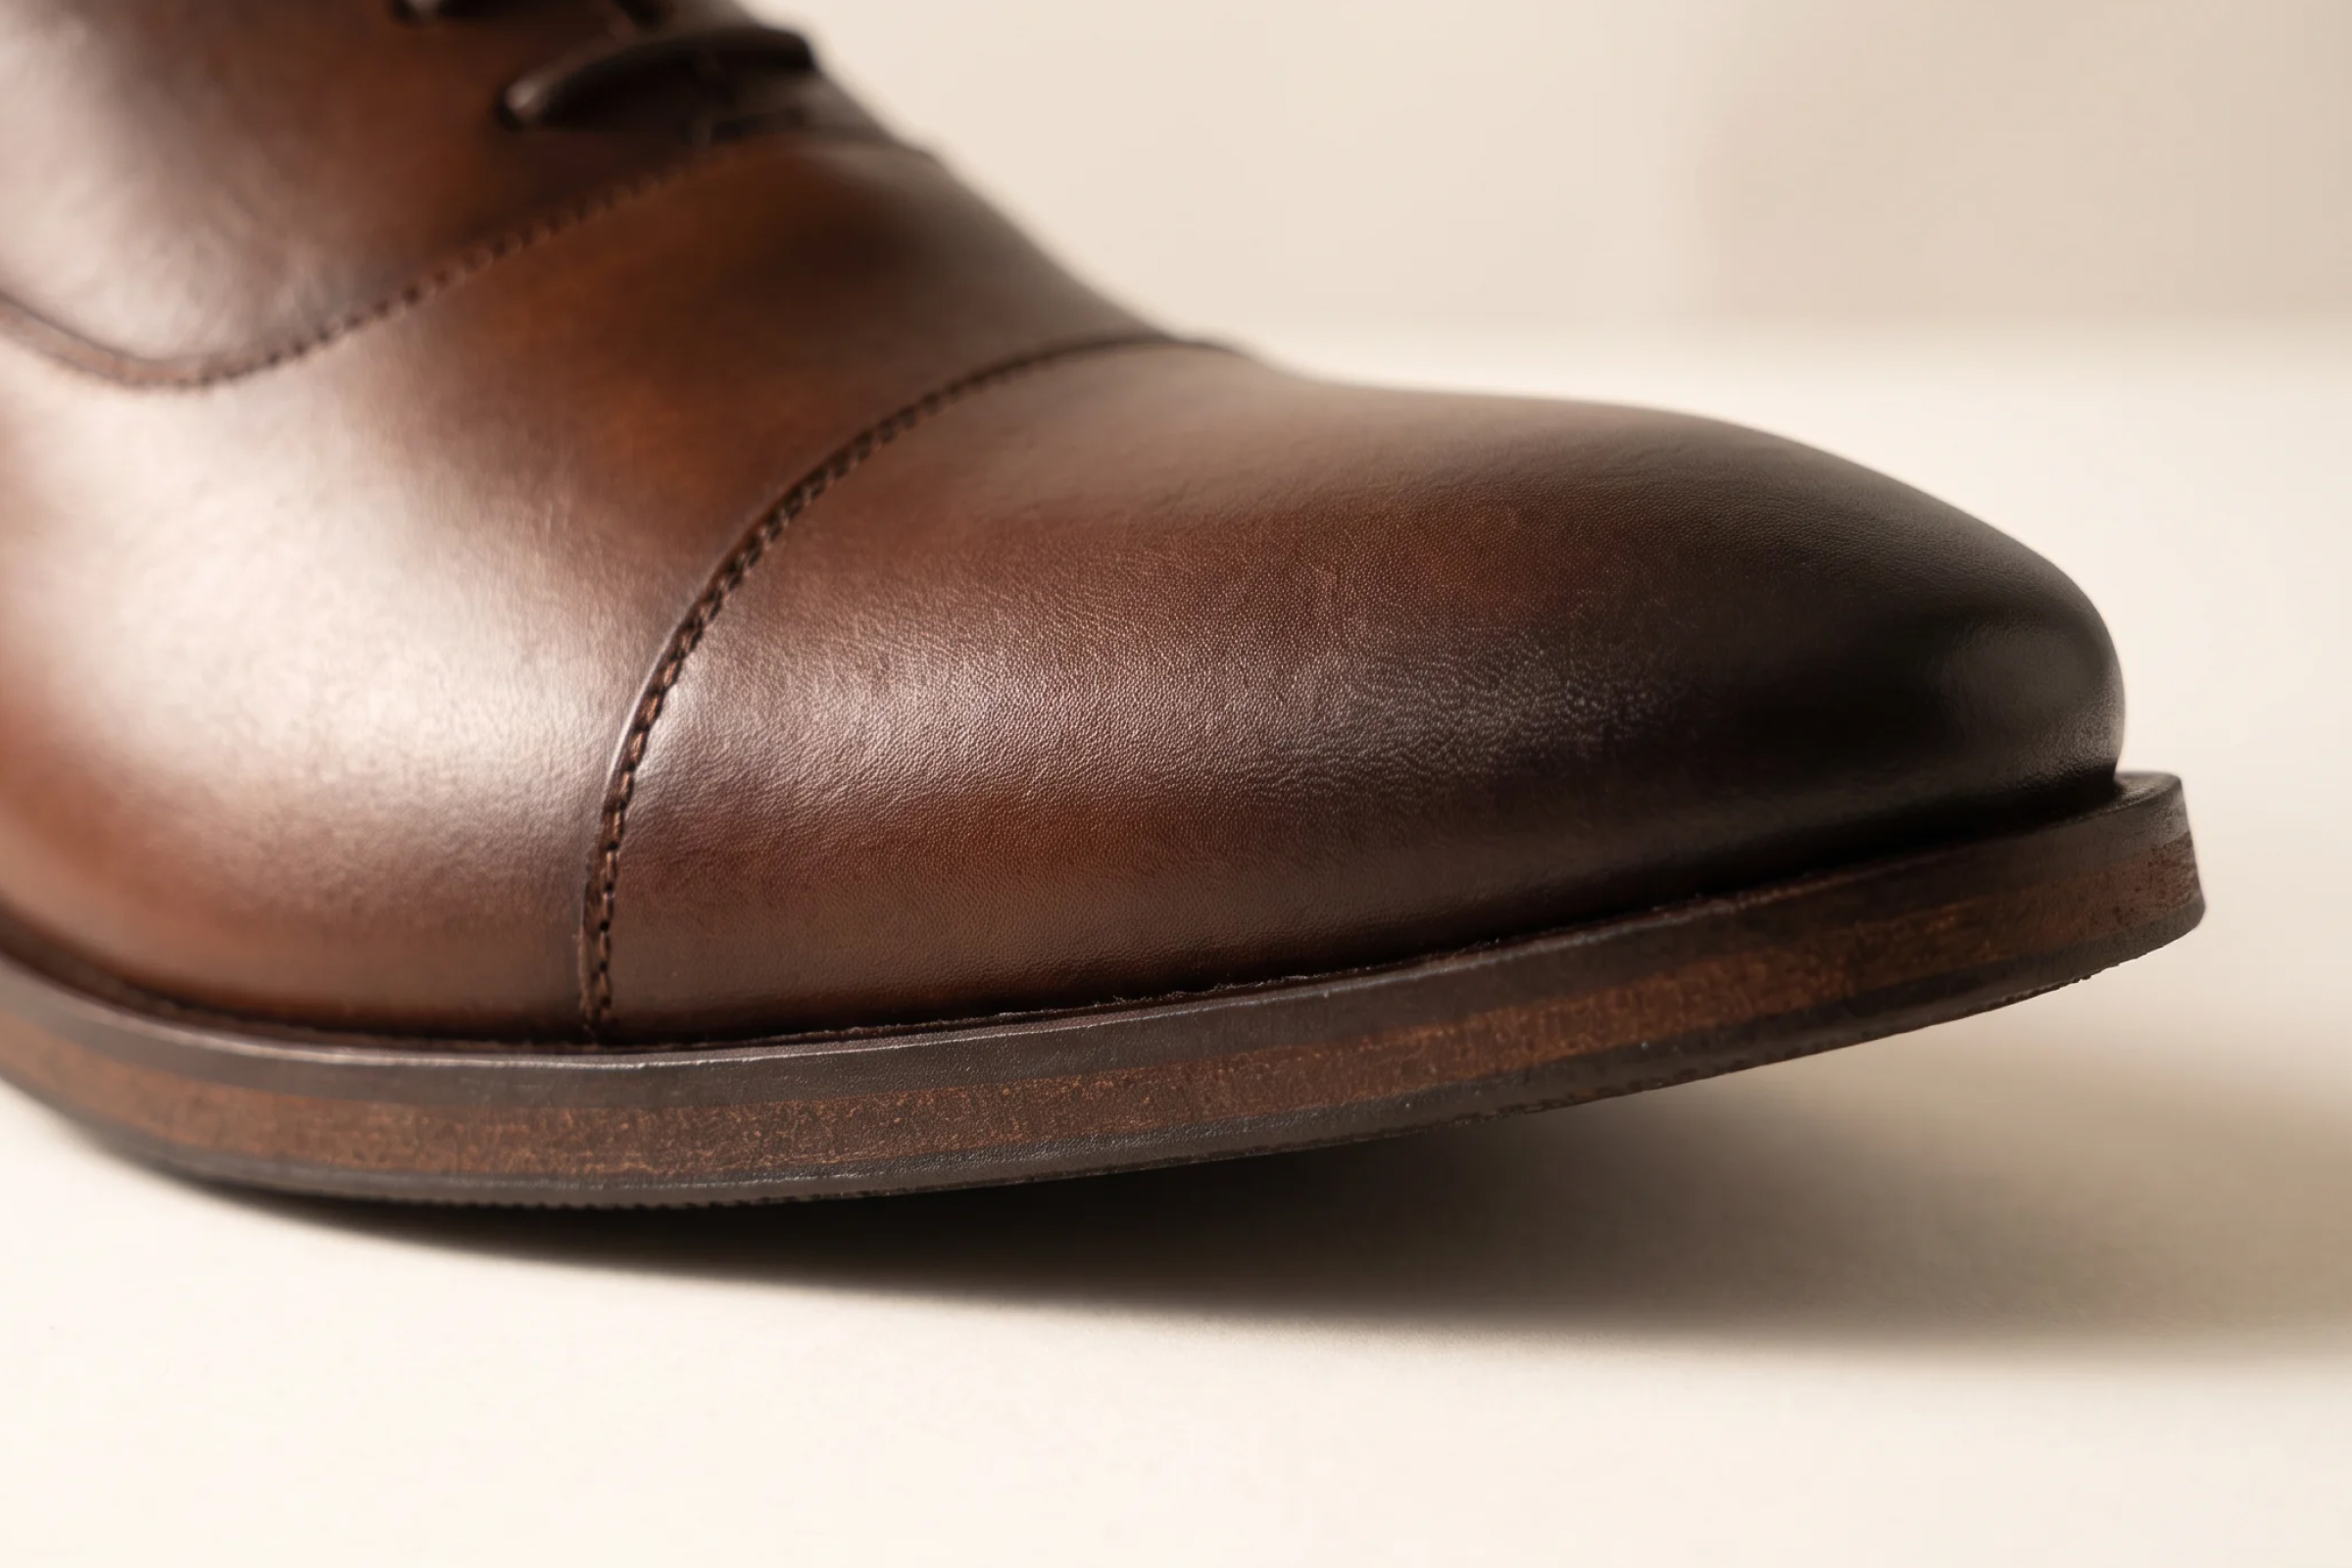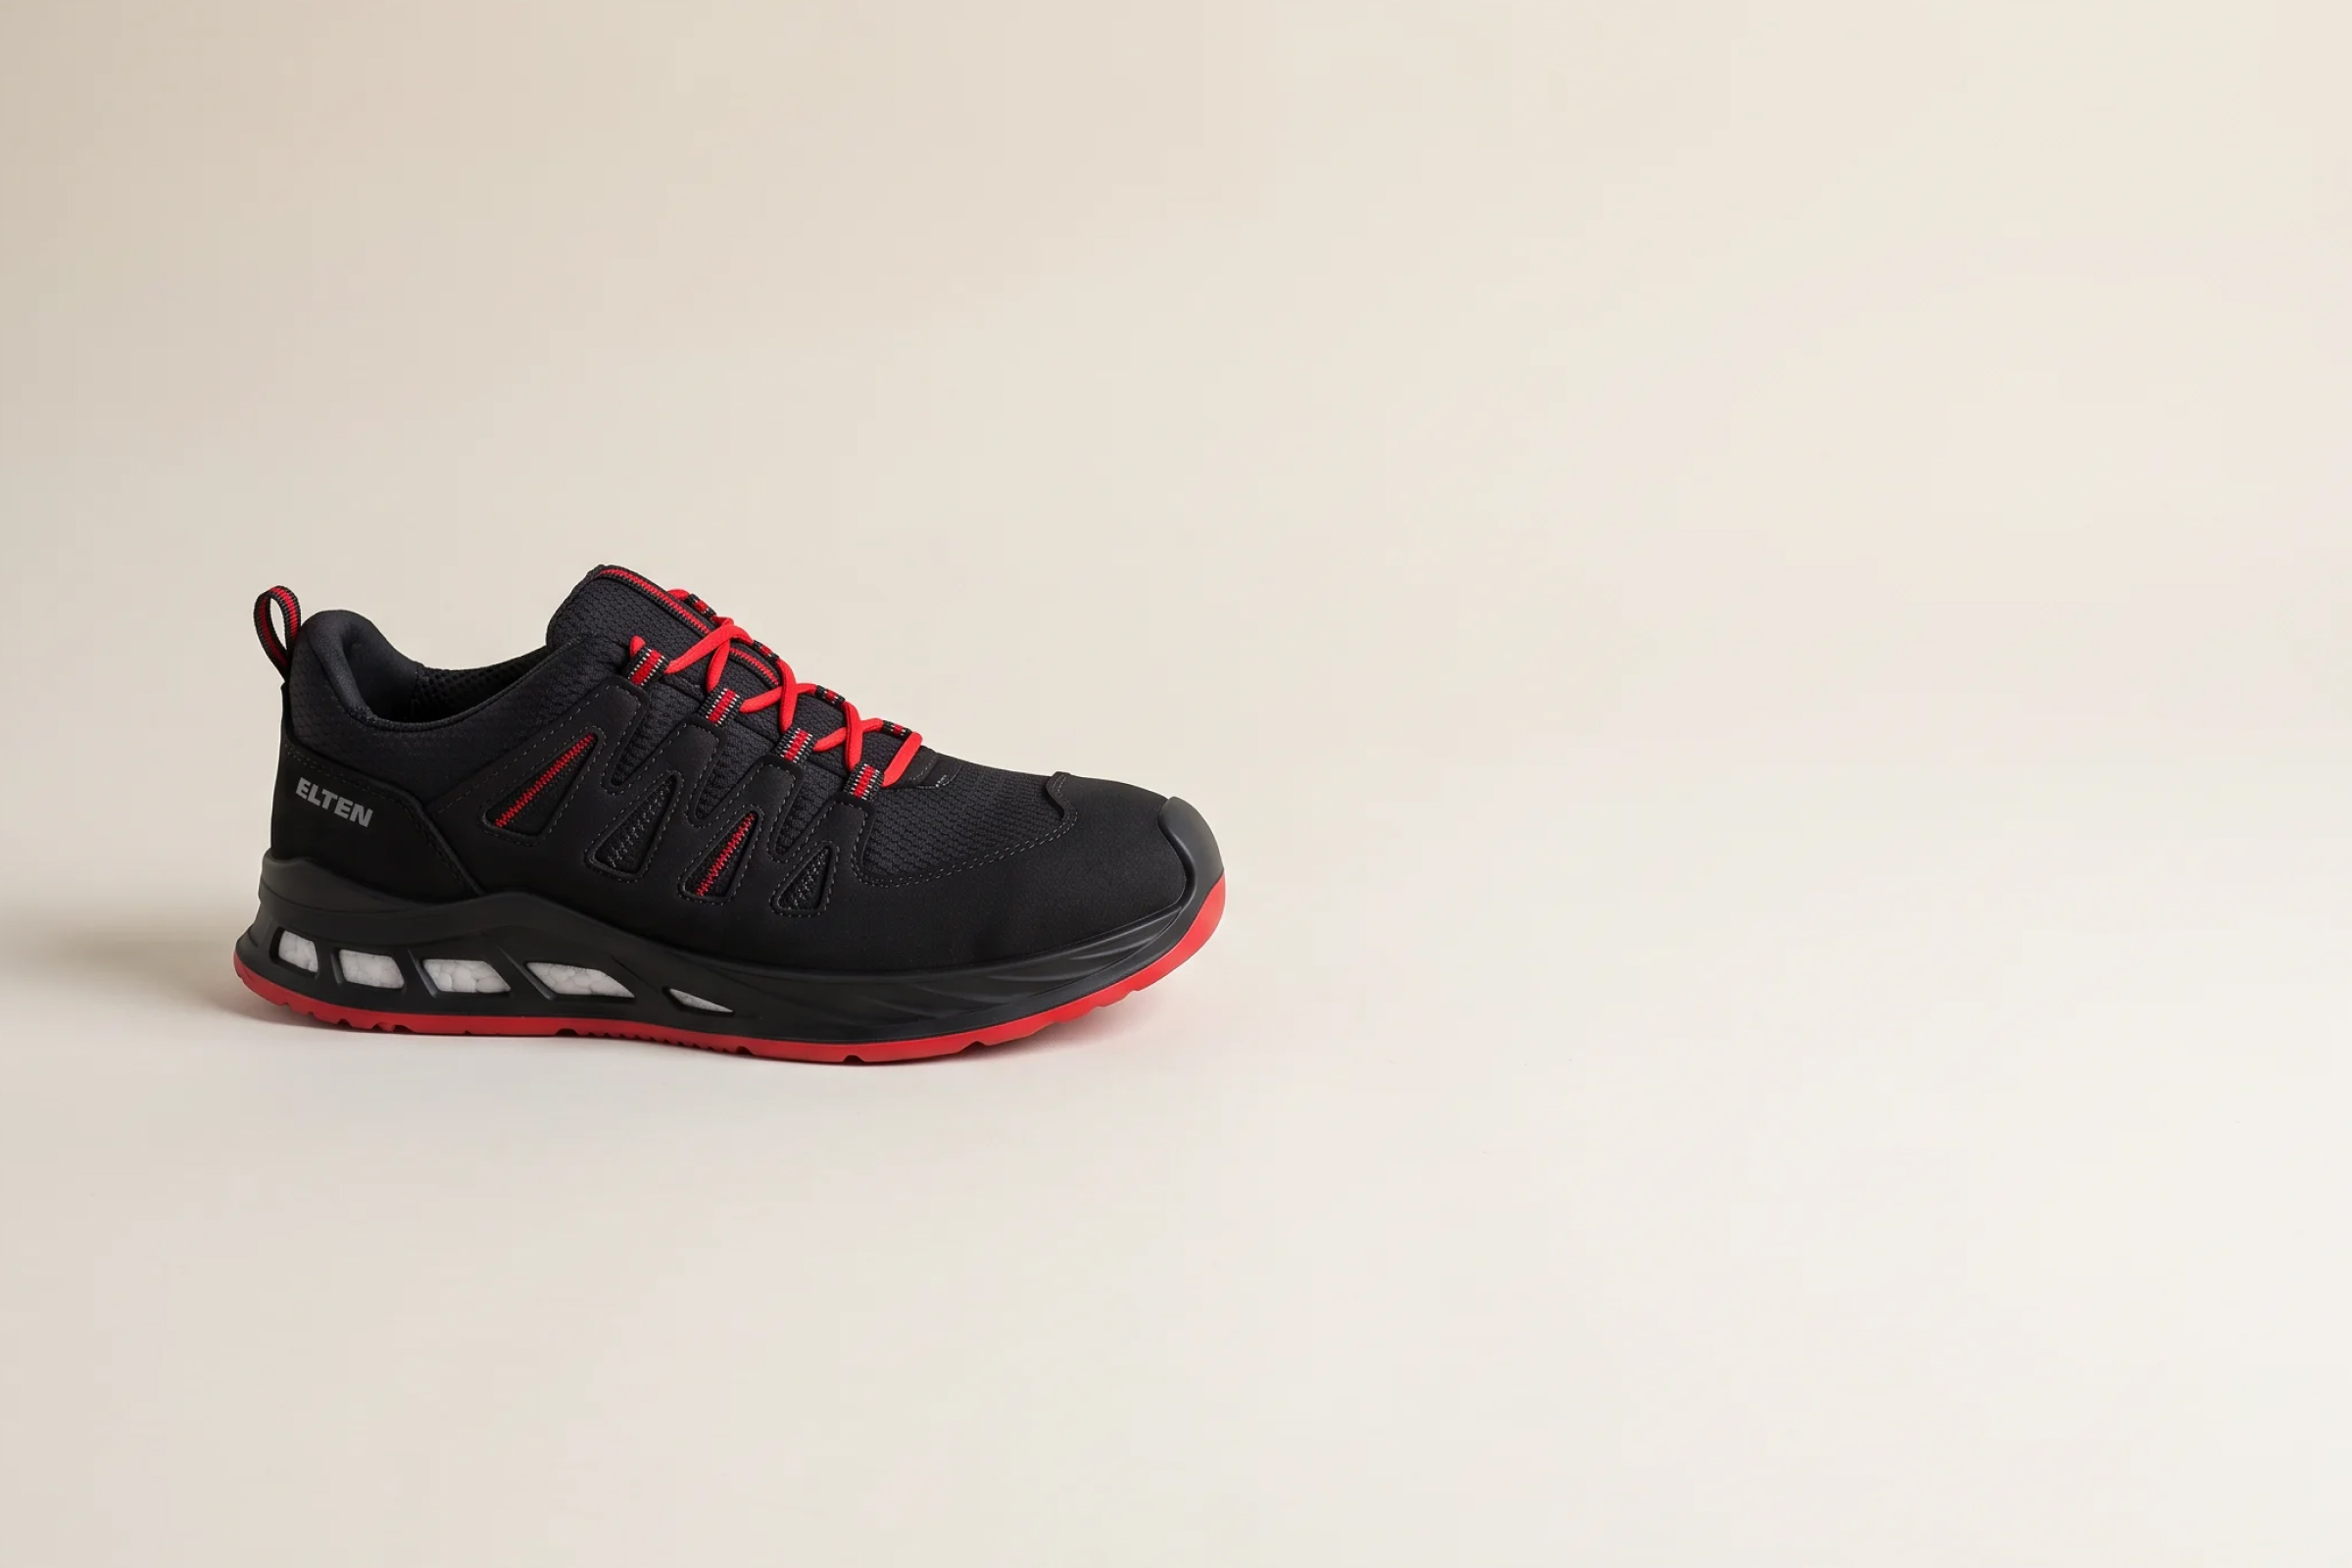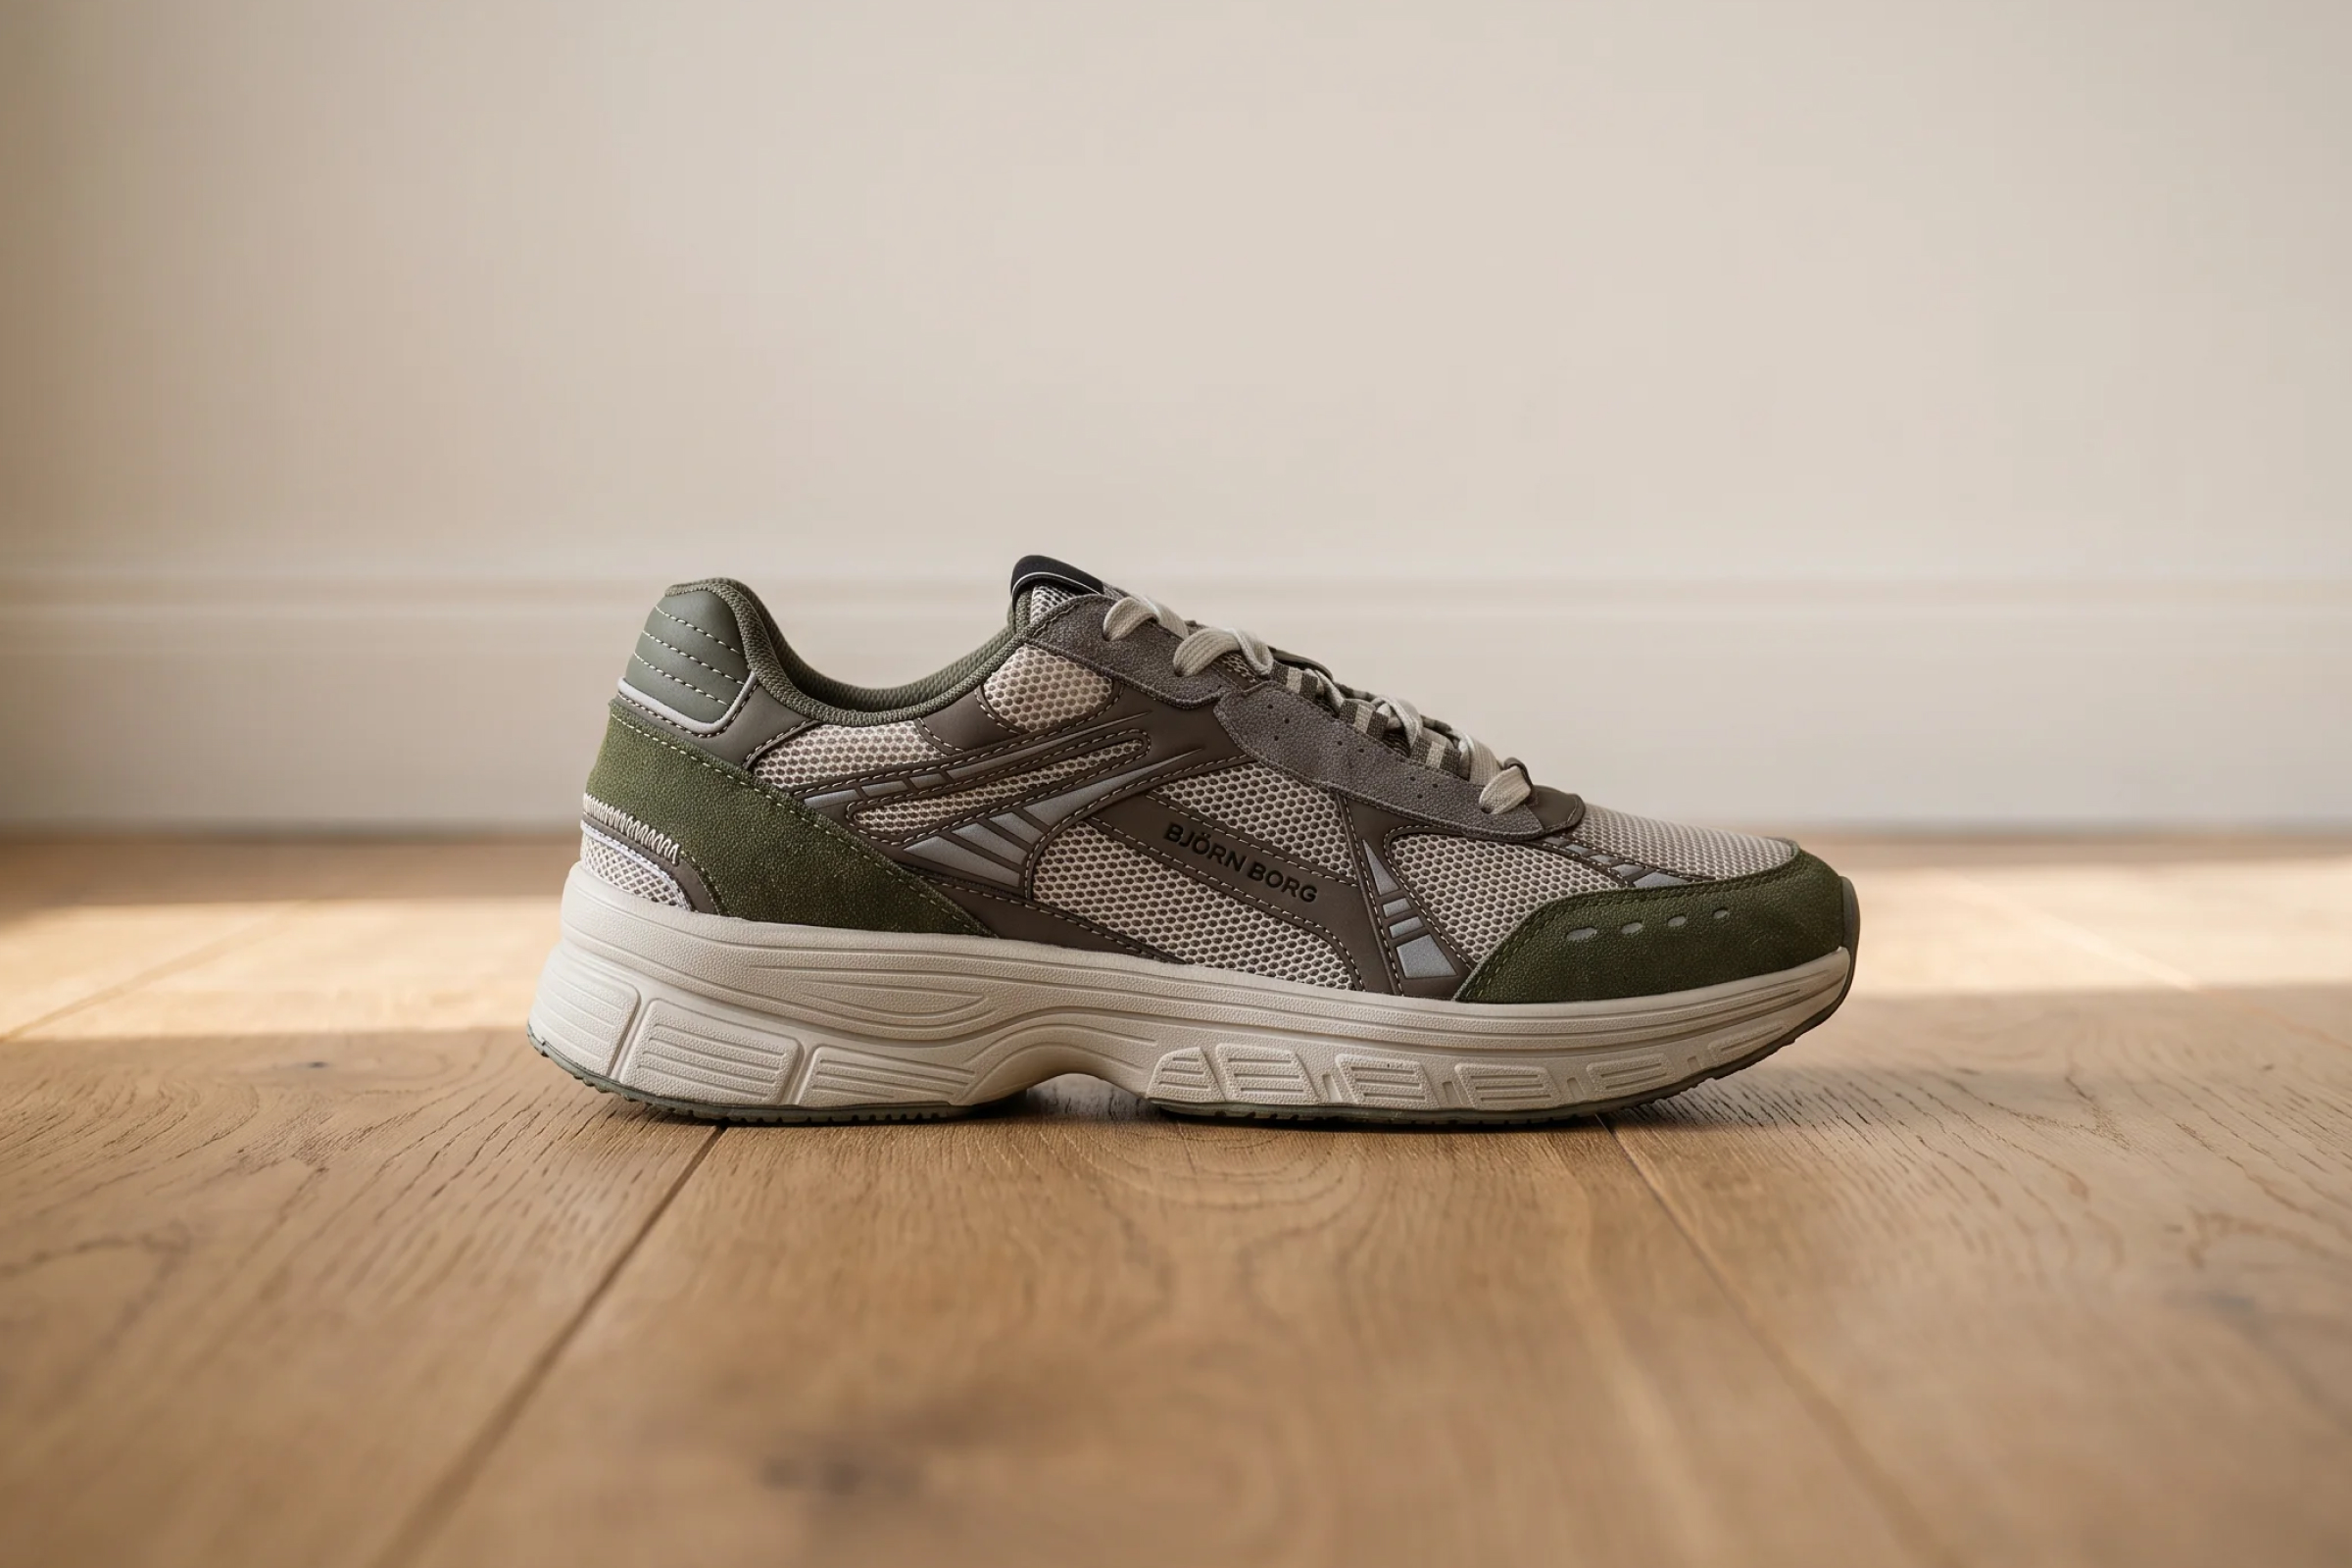
Quick Summary
Ecommerce footwear product photography at scale is not about a nice photo. It is about accurate material rendering, a complete shot list, color that holds across hundreds of SKUs, and repeatability from season to season. This guide is the technical standard for running in-house or holding your vendor to.
Introduction
Footwear photography looks simple. One shoe, a white background, and a camera. That impression holds right up until you run it across hundreds or thousands of SKUs, several materials, and every new season. At that point, the simple job becomes a systems problem.
This is where it starts to cost money. Inconsistency between shoots, color drift across a catalog, and missing angles do not just look sloppy. They lower conversion and drive returns. A shopper who cannot trust the image does not buy, or buys and sends it back.
That is the stake. Photography at this scale is not a creative nicety. It is the conversion-and-return-rate infrastructure, usually outsourced, that makes knowing the standard your real leverage.
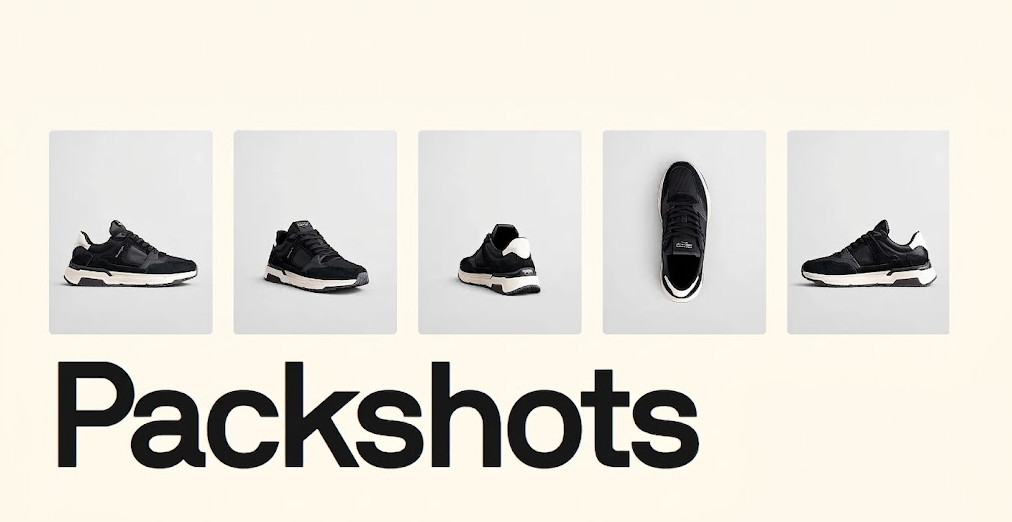
The packshot is still the backbone of any footwear PDP. We have already covered what makes a strong packshot and why it matters. This guide picks up where that conversation stops, with the actual technical standard behind it.
Read it two ways. As a technical reference if you run photography in-house, or as a due-diligence standard if you brief or audit an external studio. The second use is the primary one here, because most brands at this scale outsource.
This comes from Fibbl, which builds 3D content for footwear brands and has scanned more than 20,000 shoes, so the standard below is grounded in the category.
We move through the studio and equipment, material-specific techniques, and the required shot list. Then we cover the color workflow, post-production pipeline, file specs per channel, and where all of it holds up, or does not, at scale.
What Your Studio Setup Needs to Handle Footwear at Volume
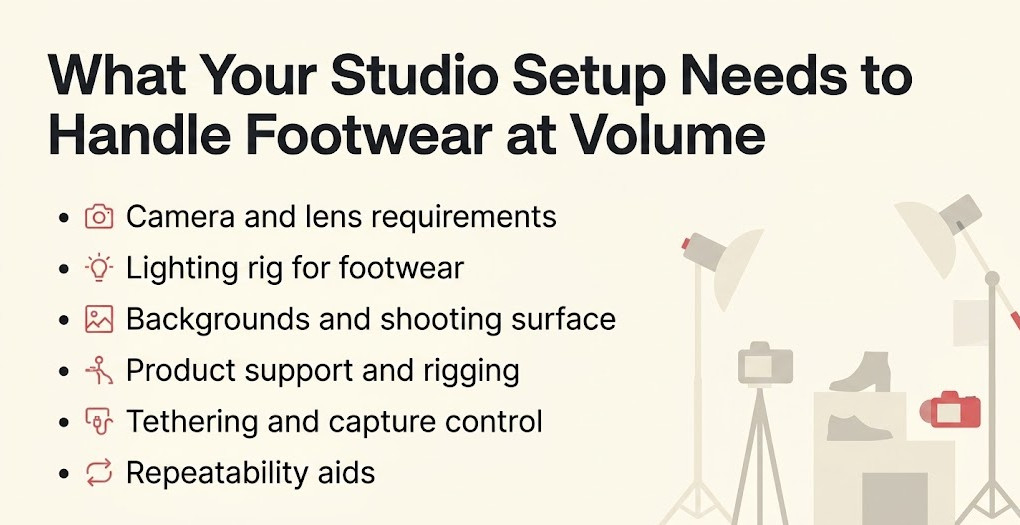
Before technique matters, the room has to be right. The physical setup is the baseline. Get it wrong, and no amount of skill downstream will save the shoot. For footwear at volume, a few things carry the load:
Camera and lens requirements
Start with the lens, not the body. Footwear sells on detail, so you need macro capability. Stitching, perforations, grain, and knit texture all have to resolve sharply. A dedicated macro lens, often around 100mm, handles this well.
Then lock your focal length. Shooting from different angles and focal lengths introduces perspective drift. A toe box looks stretched in one frame and flat in the next. Pick a focal length and hold it across the whole shoot, so every angle of every SKU matches.
Sensor resolution matters too. Zoom-heavy PDPs and marketplace rules reward a high-resolution body because you are delivering 2,000-pixel-and-larger images with room to crop. A modern full-frame body is the practical floor for this work.
Lighting rig for footwear
Footwear is not flat-lay apparel. A single shoe can combine rubber, leather, and metal in a single frame, and each reacts to light differently. That usually rules out a single softbox.
A controlled multi-light setup is the standard, a key light shapes the form, a fill light lifts the shadows. Whereas a rim or edge light separates the shoe from the background. This control is what lets you handle a matte sole and a glossy upper in the same image without one blowing out.
Backgrounds and shooting surface
The background is part of the rig. A seamless white sweep, or a lit acrylic surface for reflection control under the sole, gives you the clean base a packshot needs. Also, a consistent surface across the whole shoot means less retouching later.
Product support and rigging
Shoes do not stand up on their own at the angles you need. Studios use shoe stands, invisible wire mounts, or pins to hold a shoe in a hero pose. Each choice has a downstream cost. Wire and pins have to be retouched out of every frame. That is real editing time, multiplied across a catalog, so it belongs in your cost math from the start.
Tethering and capture control
Serious volume runs tethered, with the camera feeding straight into capture software. You see each frame full-size on a calibrated screen, catch focus and exposure misses immediately, and keep file naming consistent from the first shot. Shooting to a card and hoping is not a volume workflow.
Repeatability aids
At volume, memory is not a plan. Marked camera positions, floor marks for the rig, and saved shot templates let a different operator reproduce the exact same angle next week. This is how a season-two shoot still matches season one. Without these aids, consistency depends on the same person being in the room, which never lasts.
Vendor check: Ask whether the studio has a dedicated footwear rig and setup, or a general product photography station. Footwear-specific rigging and lighting control separate a studio that can hold quality at volume from one that will fight the category on every shoot.
Getting the Light Right on Leather, Suede, Mesh, and Metal
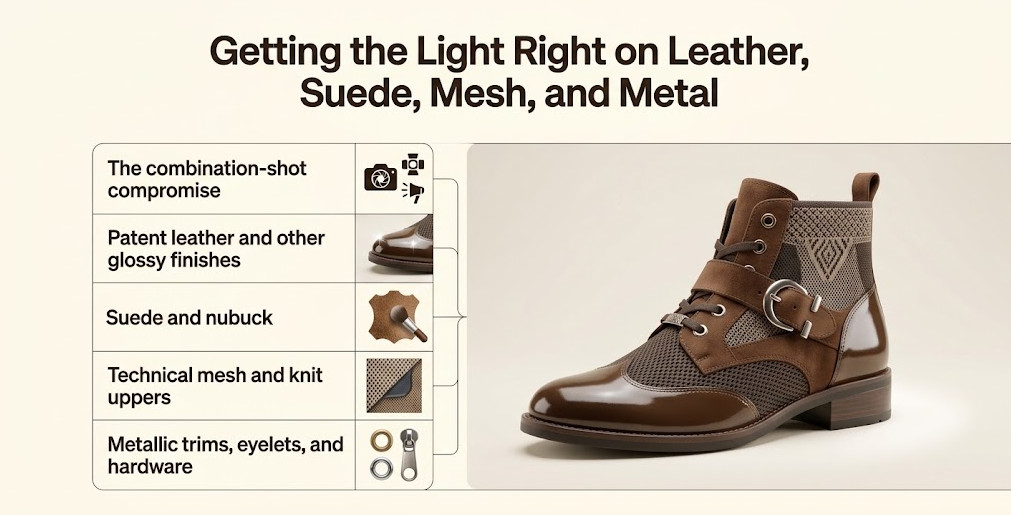
The equipment section sets up what belongs in the room. This section is what you do with it once a real material is in front of the lens. This is the technical core of footwear photography.
Footwear is disproportionately hard for one reason. A single shoe can combine three or four materials, and each behaves differently under light. But a process that treats them all the same will fail on at least one.
The combination-shot compromise
The hardest frame is the one that shows several materials at once, which is the case for most hero shots. A patent toe cap, a mesh mid-panel, and metal eyelets in a single image each want different light. The skill is finding the setup that serves all of them acceptably, then fixing the rest in post. A studio that cannot do this ships images where one material always looks wrong.
Patent leather and other glossy finishes
Gloss is the classic trap. Patent leather and coated finishes produce hard specular reflections that blow out to pure white, losing all detail. The fix is control, not less light.
Use a polarizing filter, often with cross-polarization on the lights, to cut the harshest reflections. Then place your highlights deliberately. You want a controlled sheen that reads as gloss, not a white blob that reads as a mistake.
This is also where batch consistency gets hard. The exact polarizer angle that tames one glossy shoe may need a small tweak on the next. That is fine on ten SKUs and punishing on a thousand.
Suede and nubuck
Suede and nubuck do the opposite. They absorb light and live on texture, the direction of the nap. Hit them with hard, direct light, and the nap flattens. The material then looks cheap and synthetic.
Soft, diffused, low-angle light is the answer. It rakes across the surface, bringing the texture up, so the shopper reads it as real suede.
Technical mesh and knit uppers
Engineered mesh and knit sell on breathability, and that is a problem for photography. Fine repeating weaves can clash with the camera sensor and produce moiré, those false wavy or rainbow patterns.
You reduce it by adjusting the angle, distance, or aperture, and sometimes with careful backlighting to show the weave and breathability without the artifact. It is a per-material adjustment, not a global setting.
Metallic trims, eyelets, and hardware
Metal is small but unforgiving. Eyelets, buckles, and logos are tiny mirrors that catch every light in the room. Left alone, they flare and lose their shape.
Tenting or added diffusion tames those reflections while keeping the definition, so a buckle still looks like polished metal, not a white spark.
Vendor check: A studio that uses a single lighting setup regardless of the material is a consistency risk. Ask how their process adapts per material, and ask to see side-by-side examples of the same approach on a suede shoe and a patent shoe. If both look equally good, they know the category.
This per-material variability is exactly what a single 3D capture is built to remove. Capture the shoe once, accurately, and the material behavior is baked into the asset, not resolved on every shoot.
The Shot List Your Footwear PDPs Can't Ship Without
Lighting tells you how to shoot each material. The next question is exactly what to shoot. This section defines the deliverable, the specific set of frames every footwear SKU needs before it can ship. Judge each angle by its job, not its looks.
Shot |
What it shows and why |
Notes |
Three-quarter hero |
Overall shape and proportions; the primary PDP image |
Often the main marketplace image |
Left and right side profiles |
Silhouette, heel height, and upper design on both sides |
Both sides, not one mirrored |
Sole and tread |
Grip and construction. A real decision factor for performance and outdoor use |
Increasingly a purchase driver |
Heel counter and toe box |
Fit-relevant structure at both ends |
Detail shots |
Lace, eyelet, and hardware |
Material and finish quality up close |
Macro |
360 spin sequence |
Full rotation for interactive viewers |
24 to 72 frames, even increments |
The three-quarter hero, both side profiles, the sole, the heel counter and toe box, and a hardware close-up form the non-negotiable core. Ship a PDP without the sole shot on a trail runner, and you have left out exactly what the buyer came to check. These are the frames a full packshot set has to deliver every time.
PLP framing versus PDP framing
PLP and PDP are not the same job. The listing grid requires a uniform crop and angle across all products, so the page reads as a clean set. The product page wants the full detail sequence. Define both. A vendor who delivers only PDP-grade heroes leaves your collection pages looking ragged.
Detail and macro frames
Beyond the core angles, premium footwear sells on close detail. A macro frame of the stitching, the logo, and the material grain reassures a shopper about quality, and at higher price points, it often conveys value. Specify which SKUs get these, so the studio does not quietly skip them to save time.
The 360 spin sequence
The spin is its own deliverable. Frame counts usually range from 24 to 72, in even-degree increments, depending on the viewer and platform. More frames mean a smoother spin and a larger file, so match the count to where it will live. A 3D viewer or spin widget needs consistent increments, or the rotation stutters.
Decide early whether you even need a spin per SKU. A full 360-degree view of every product is expensive to shoot and store. Many brands reserve it for hero and performance styles, where sole and construction detail justify the interaction.
Vendor check: This shot list belongs in the brief and the contract, in writing, not left to the studio's discretion. Ask for a sample shot list mapped to your SKU types before you commit. A vendor who shoots to their own default will deliver gaps you only find at scale.
Keeping Color True from the First Shot to the Five-Hundredth
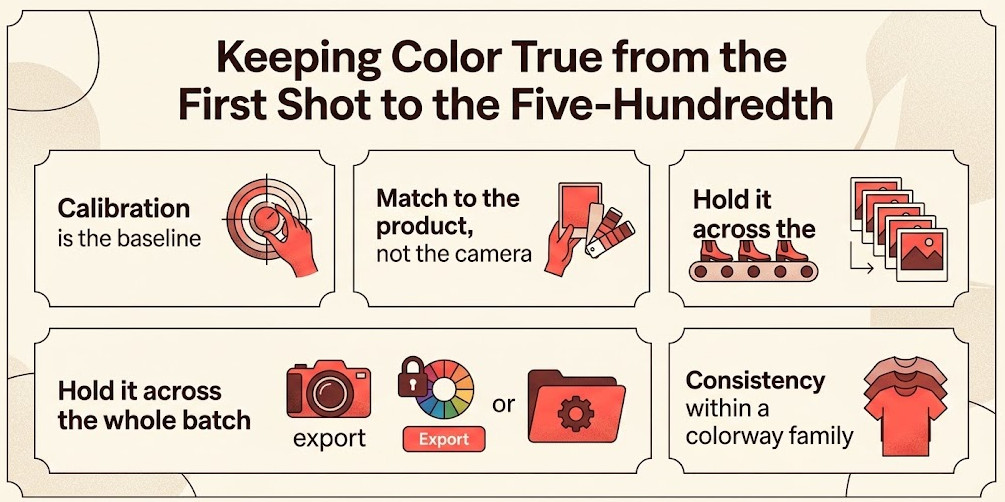
The shot list sets what to capture. This section ensures every one of those frames reads as the same correct color, from the first SKU to the five-hundredth. This is where the whole standard becomes repeatable, or falls apart.
Calibration is the baseline
Start with the screen. If the monitor is not calibrated, every color decision after it is a guess. At any real volume, hardware monitor calibration is a baseline requirement, not an optional nicety. It is the reference against which everything else is judged.
Match to the product, not the camera
Camera white balance alone is not color management. It gets you close, then drifts. The standard is to match against the real product. That means a color reference in the frame, like an X-Rite ColorChecker, and where accuracy is critical, a spectrophotometer or Pantone-based matching against the actual swatch. You are matching the image to the shoe, not to what the camera guessed.
Hold it across the whole batch
Consistency is the hard part. Exposure and white balance have to stay locked across an entire shoot day and batch. Footwear is unforgiving here because color and material misrepresentation is one of the most-cited reasons shoes are returned. A blue that photographs slightly purple is not a small error. It is a return waiting to happen.
Scale makes it worse. On a small shoot, you can eyeball every frame against the sample. On a thousand-SKU catalog you cannot, so the process has to guarantee the match without a human checking each one.
Lock the color space and export
Decide on your color space up front and stick with it. Most e-commerce delivery is sRGB, because that is what browsers and marketplaces expect. A file mastered in a wide space and exported wrong looks right in the studio and wrong on the PDP. Bake the export settings into the batch, not into each editor's habit.
Consistency within a colorway family
One silhouette often ships in eight or ten colorways. Shot separately, they drift apart, and the family looks mismatched on the PLP. The standard is to shoot a colorway family in one session, under one locked setup, so the blues, greens, and blacks all sit together. Ask how the vendor batches colorways, not just SKUs.
Vendor check: Ask for the studio's documented color-matching process, and how they handle mid-shoot lighting drift, for example, daylight-balanced lights versus ambient light bleeding in through a window. A vendor without a written process is a scale risk, not just a quality one. Small shoots hide drift. Large ones expose it.
Post-Production and Retouching Considerations at Scale
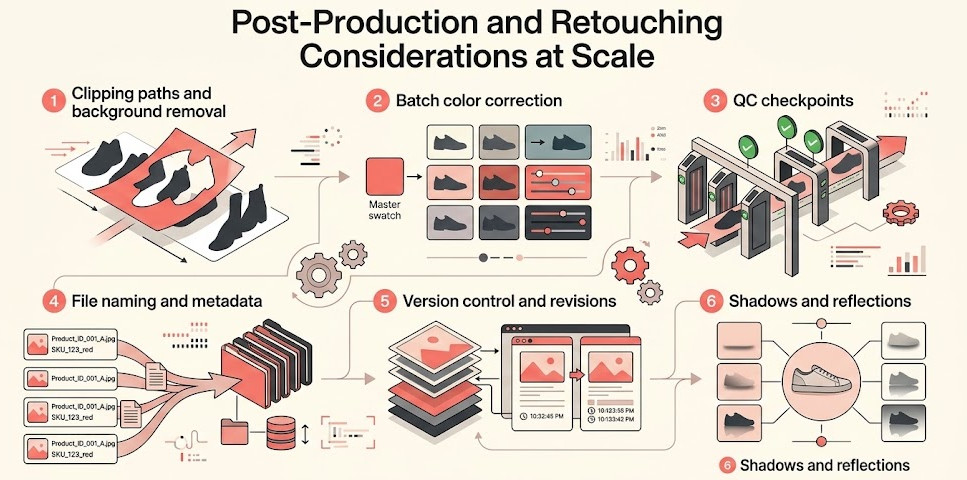
Calibration controls color at the moment of capture. Everything after the shutter is post-production. This is the layer that catches the drift calibration that was not fully prevented, and turns raw frames into finished, on-spec deliverables. At volume, it is also where turnaround and consistency quietly break.
Clipping paths and background removal
Every packshot needs a clean background, usually pure white. That means a clipping path or a cutout around the shoe. You can do it manually with the pen tool for precision, or automate it for speed. The manual is cleaner on tricky edges like laces and mesh, but slow. Automated is fast but needs a QC pass, because it fumbles fine detail. At the catalog scale, most studios blend the two, and the mix is worth asking about.
Edge quality is not cosmetic. A rough cutout around the laces or a translucent mesh panel looks obviously fake on a white PDP, and shoppers read "fake" as "low quality". This is the most common place for cheap retouching shows.
Batch color correction
Correcting images one by one does not scale. Studios build batch color-correction workflows, applying and checking corrections across an entire shoot at once. Done well, this catches drift before delivery. Done lazily, it bakes drift in evenly and hands you a whole batch that is subtly off.
QC checkpoints
Someone has to actually look at the images. The question is how many. Full review of every frame is ideal and rarely realistic at volume. Spot-checking is faster but misses outliers. Ask where the checkpoints sit and what share of images gets a real human review, because that number is your true quality floor.
File naming and metadata
This is the underrated failure point. Hundreds of images with inconsistent names are unusable for a PIM or DAM and break your e-commerce and marketplace integrations. A naming and metadata convention, agreed up front and followed every time, is what lets assets flow to the right SKU automatically instead of by hand.
Version control and revisions
Revisions are inevitable, and at volume, they are part of the workflow, not the exception. A clear version scheme, so v2 of a SKU never overwrites v1 silently, keeps the catalog honest. Ask how the vendor tracks revisions and reshoots, because untracked versions are how the wrong image ends up live.
Shadows and reflections
Footwear looks grounded with a natural shadow or a soft reflection under the sole. Studios either capture this in-camera or add it in post. Added shadows have to be consistent, or the catalog looks like it came from ten different shoots. Decide the shadow style once and apply it everywhere.
Notice that every step here carries a per-image cost, and that cost compounds at volume. Clipping paths, batch correction, and QC passes all add up, and a single reshoot multiplies the whole chain. Cost is a direct consequence of the standard, not a separate topic. For the full per-SKU numbers, see our breakdown of footwear photography cost.
Vendor check: Ask specifically how QC and turnaround change at 500-plus SKUs versus a 20-SKU test batch. Many vendors look excellent on a small test and degrade in consistency and speed exactly where footwear brands need them most.
Getting Files Ready for Every Channel That Needs Them
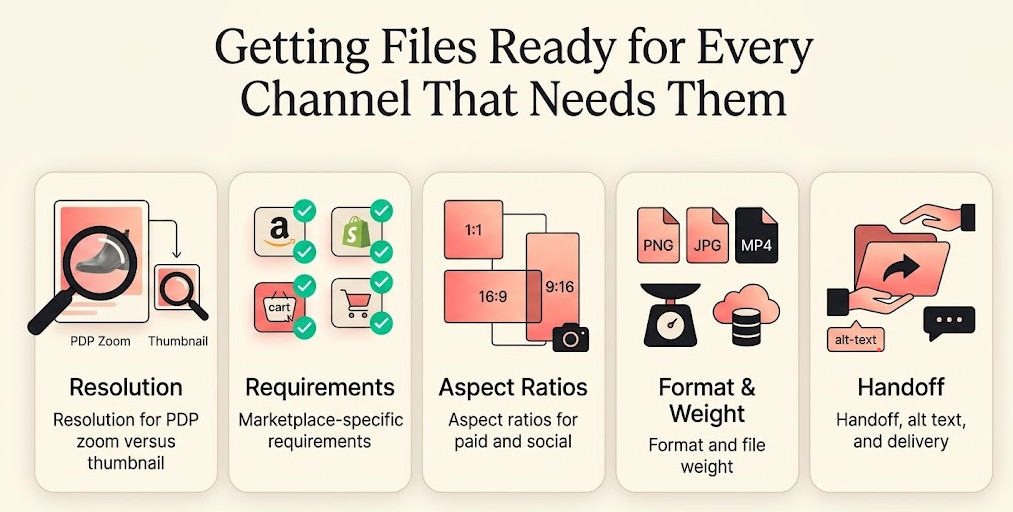
Retouching produces a finished image. This section ensures that the image actually meets the technical spec for wherever it is going. It is the final packaging step before assets go live, and each channel has its own rules.
Resolution for PDP zoom versus thumbnail
One resolution does not serve every placement. Your PDP hero needs enough pixels for zoom, so shoppers can inspect stitching and texture. That usually means a long edge of 2,000 pixels or more. The same asset gets downscaled for thumbnails and PLP tiles, where a smaller, lighter file loads faster. Shoot and master high, then export down.
Marketplace-specific requirements
Marketplaces enforce hard rules, and non-compliance means rejection. Amazon, for example, wants a pure white background at RGB 255, 255, 255, with the product filling about 85 percent of the frame. For footwear, it specifies a single shoe facing left at a 45-degree angle. It needs at least 1,000 pixels on the longest side, and 2,000 or more to keep the zoom function that lifts conversion. Every marketplace your brand sells on has its own thresholds. A clean white-background workflow is the baseline, and the vendor should confirm compliance on a per-platform basis rather than assume it.
Getting this wrong costs more than a rejected upload. A non-compliant image prevents the listing from going live at all, delaying the launch, not just the asset.
Aspect ratios for paid and social
Product pages are not the only destination. Paid social and display need their own crops. A square 1: 1, a 4: 5 portrait for feed, and a 9: 16 vertical for stories and reels are the common set. These are not afterthoughts. If they are not planned into the shoot and export, someone recreates them by hand later.
Format and file weight
Format matters as much as size. Modern e-commerce relies on WebP or AVIF, which offer higher quality at smaller file sizes than JPEG, so pages load faster without visibly softer images. Set a maximum file weight per placement, because a heavy PDP image that loads slowly costs you the same shoppers a missing image would.
Handoff, alt text, and delivery
The last mile is delivery. Images need consistent alt text for accessibility and SEO, and a handoff format your PIM can ingest without manual sorting. Agree on how files arrive, named, folderized, and tagged, so assets reach the right SKU without a person renaming hundreds of files. This step is where a clean shoot can still turn into a slow launch if ignored.
Use |
Resolution |
Background |
Aspect ratio |
PDP hero (zoom) |
2,000px+ long edge |
White or brand |
Square or product-fit |
PLP / thumbnail |
Downscaled from master |
Match the PDP |
Square |
Amazon main image |
1,000px min, 2,000px+ for zoom |
Pure white RGB 255 |
Product at 85% fill |
Paid / social feed |
Per platform |
Varies |
1:1 and 4:5 |
Stories / reels |
Per platform |
Varies |
9:16 |
Vendor check: Confirm the vendor can deliver channel-specific exports directly, not just a single master that your team then resizes and reformats. That manual reformatting is a hidden, recurring cost that many brands never price in.
Why Consistency Breaks Down Across Seasons When Shooting Shoes
Every section so far described how to get a single shoot right. Each technique is achievable on its own. Here is the pivot the whole guide has been building toward. The real failure point for footwear brands is not any single technique. It is holding all of them consistent, repeatedly, at scale.
Consistency breaks in predictable places. Across multiple photographers or shifts inside one large shoot, small habits diverge. Across seasons, staff, gear, and studios change, and last season's look no longer matches this one. Also, every mid-season reshoot, triggered by a new colorway or a design tweak, is another chance for the standard to slip.
Then there is the physical side, which is easy to forget. Samples get shipped, and shipping means damage, delay, and the odd pair that never arrives. One missing sample can stall a whole batch, and a rushed replacement rarely matches the setup of the originals.
Multiply that by the number of channels each SKU has to satisfy, and one dropped standard cascades. A single drifted batch does not stay contained. It ships to the PDP, the marketplace, and the ad account at once. This is why brands at scale start comparing AI and automation tools for the repetitive parts of the pipeline.
The cost of that drift is rarely a single line item. It shows up as reshoots, as returns from misrepresented products, and as team hours spent fixing what should have arrived right. Those numbers are diffuse, which is why they are easy to underestimate until you add them up.
None of this is a skill problem. Any good studio can nail one shoot. The difficulty is that the standard you just read has to be reproduced by hand, exactly, hundreds of times, every season. That is a different and much harder problem than taking a good photo.
Fibbl Comes in Where Technical Rigor Hits a Wall
So here is the honest conclusion. Everything above is the correct standard. The problem is not the standard. It is holding it manually, indefinitely, across hundreds or thousands of SKUs and every season. That is an operational ceiling, not a skill ceiling. Human processes drift because people and conditions change.
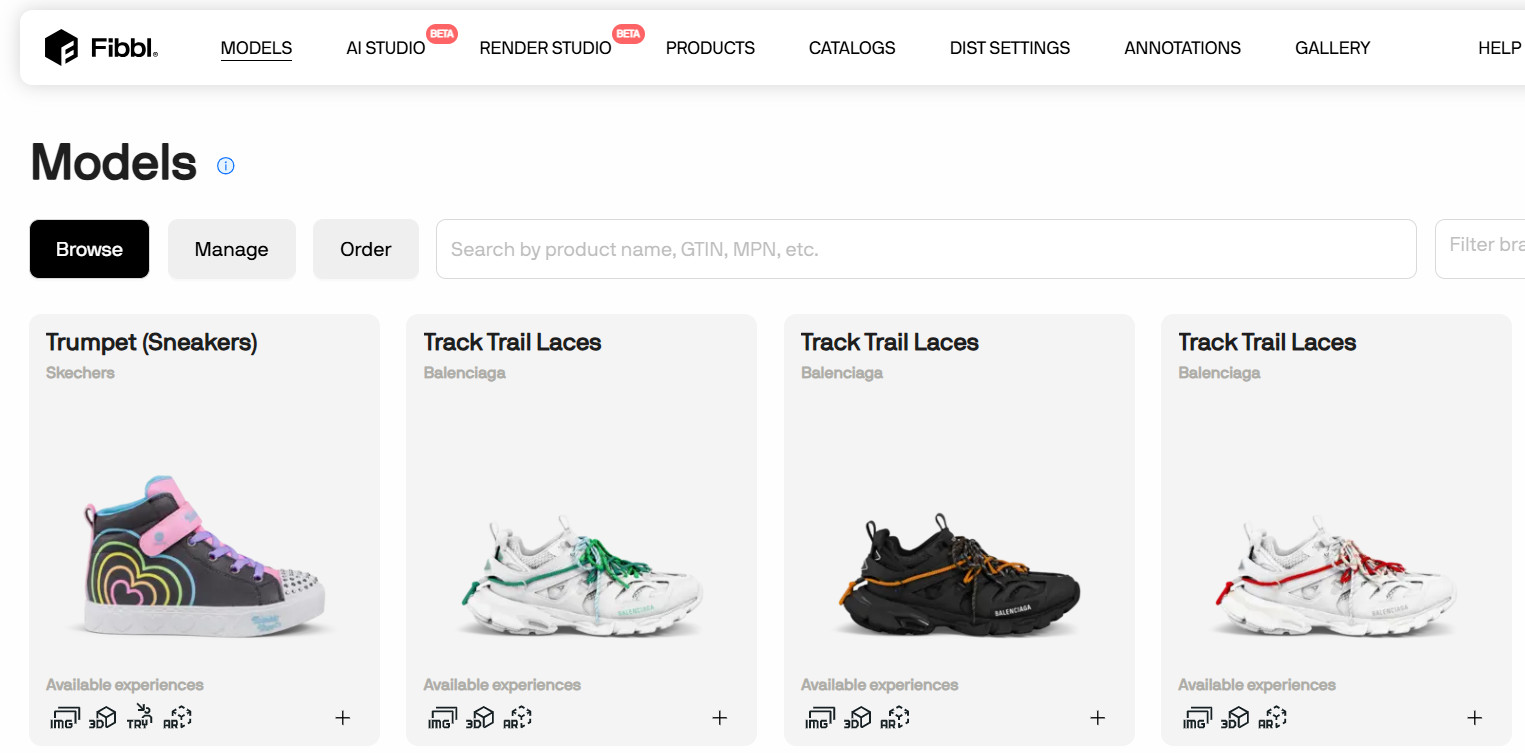
This is where 3D changes the shape of the problem. A single accurate 3D capture locks the standard in once. True color, correct material rendering, and detail that does not depend on that day's lighting are captured into the asset.
From there, you reuse it indefinitely, generating packshots and every angle on demand, without reshooting. It addresses both cost and consistency at their root, by changing what has to be repeated. For a deeper argument on material complexity and cost, our packshot and cost posts go into more detail.
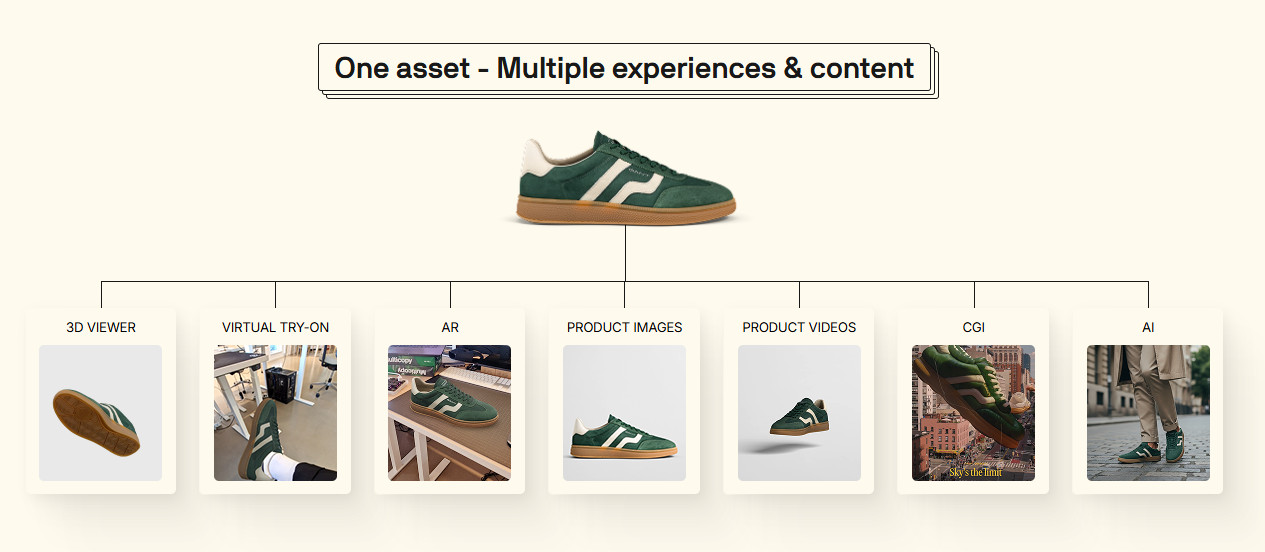
If your team is holding this standard by hand every season, that is the wall worth removing. See what an accurate 3D capture looks like on your own shoes. Get a free product scan or book a demo to plan it across your catalog.